How to Make Phone Videos Look Professional: The 2026 Creator’s Guide
Your smartphone isn’t just a communication tool; it’s a high-end cinema camera currently trapped in “auto” mode. Most creators struggle with grainy low-light shots and that over-sharpened digital look that screams amateur. You’ve probably noticed how harsh shadows and blown-out skies can instantly drain the life from your content. It’s frustrating when your creative vision is held back by the very device meant to capture it.
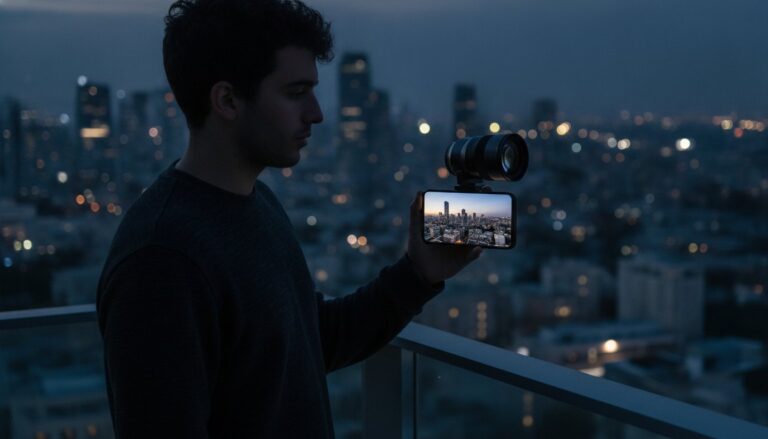
We’re here to change that narrative. You can master how to make phone videos look professional by ditching the factory settings and embracing professional-grade optics. It’s about taking control of your light and motion. This 2026 guide reveals the essential gear upgrades and technical secrets needed to transform your mobile footage into cinematic art. Pro-grade output is simply a matter of having the right tools and the knowledge to use them.
We’ll explore how to achieve natural motion blur with ND filters and capture those iconic blue anamorphic flares that define modern cinema. From smooth transitions to perfect exposure, you’ll gain the confidence to produce content that rivals big-budget productions. Let’s elevate your social media presence and unlock the true potential of your mobile studio today.
Key Takeaways
- Stop letting your phone’s auto-exposure ruin your shots. Learn how ND filters help you achieve the 180-degree shutter rule for natural cinematic motion blur.
- Elevate your visuals with professional optics. You’ll see why a PRO 1.55X Anamorphic Lens is the ultimate tool for how to make phone videos look professional.
- Eliminate shaky, amateur movement with proven stability techniques. We’ll guide you through choosing between gimbals, tripods, and the essential “Ninja Walk.”
- Master the technical settings that matter. Lock your focus and exposure to prevent digital “hunting” and ensure your 4K footage remains crisp and consistent.
- Give your content a high-end finish in post-production. Discover easy color grading tips and why a simple Lens Cleaning Spray is your most important maintenance tool.
Mastering Light and Exposure with External Filters
Most creators think more light is always better. It’s not. Your phone’s automatic settings are designed for snapshots, not cinema. When you film in bright daylight, your phone compensates by skyrocketing the shutter speed. This creates a jittery, hyper-real look that feels cheap and amateur. Mastering how to make phone videos look professional requires you to override these instincts with manual control and external hardware.
Auto-exposure is the silent killer of cinematic quality. It constantly “hunts” for the right brightness, causing distracting flickers as you move. By locking your exposure and using physical filters, you take the creative reins back from the AI. You decide which parts of the frame stay in shadow and which parts pop. This level of control is what separates a home movie from a professional production.
The 180-Degree Rule: Secret to Cinematic Motion
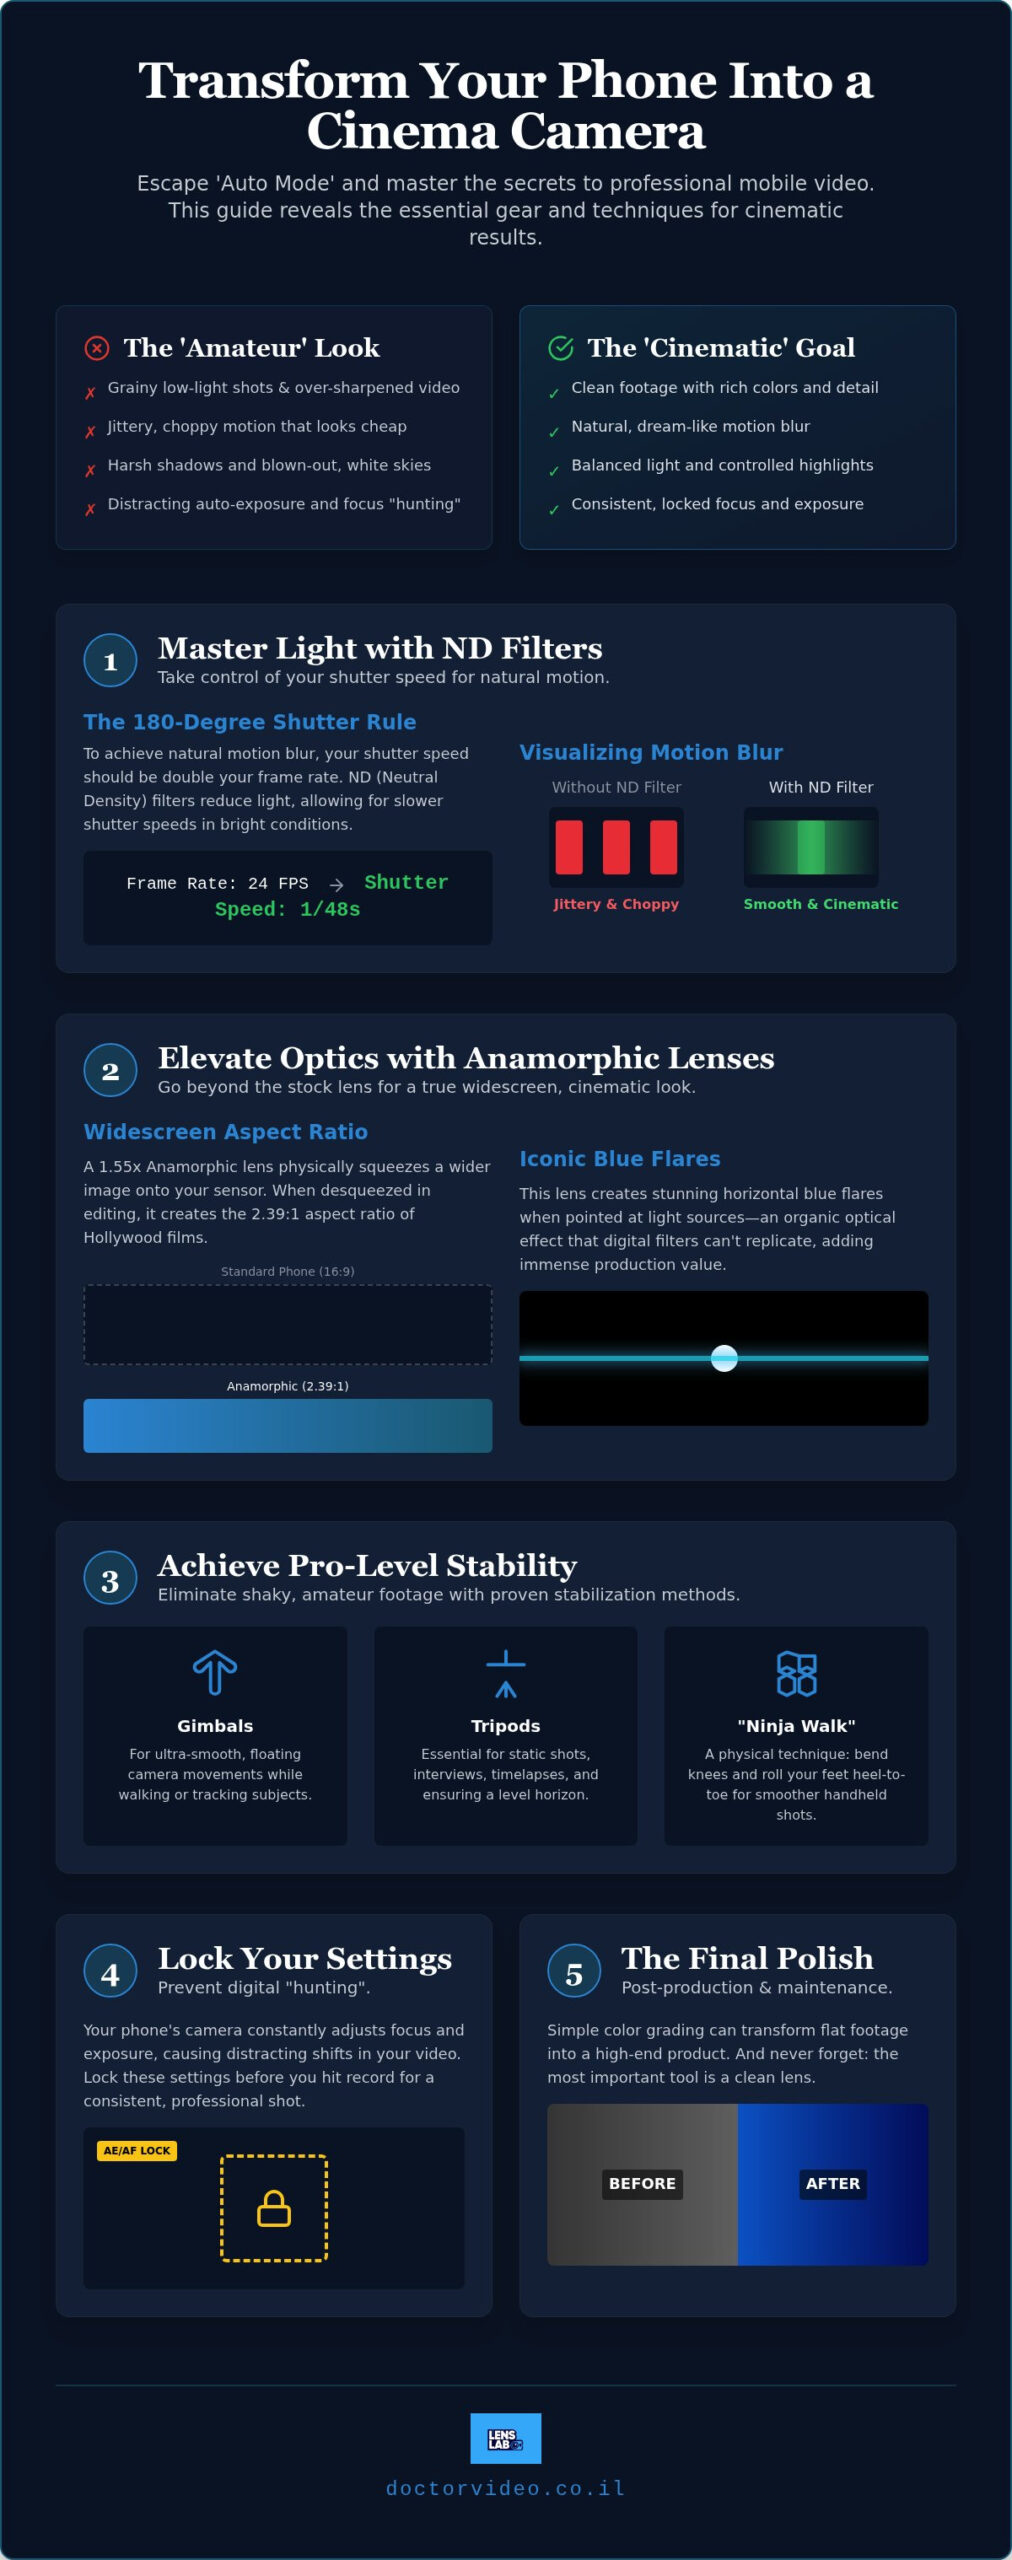
Pro filmmakers follow the 180-degree rule to achieve that “movie look.” It’s a simple ratio: your shutter speed should always be double your frame rate. If you’re shooting at 24 frames per second (fps), your shutter speed needs to be 1/48 or 1/50 of a second. This creates the natural motion blur our eyes expect to see on the big screen.
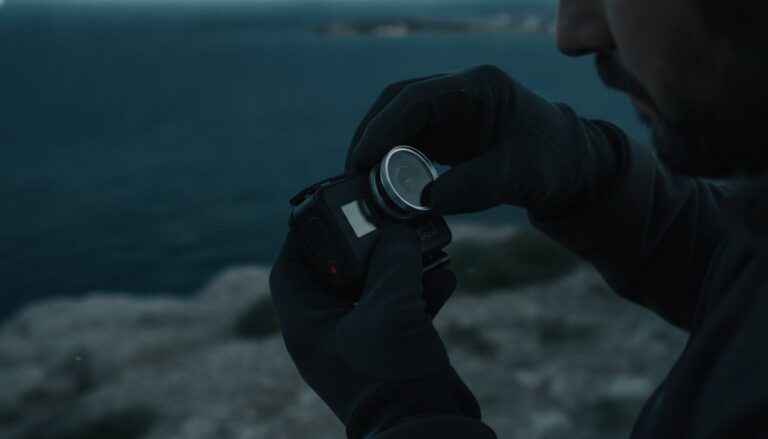
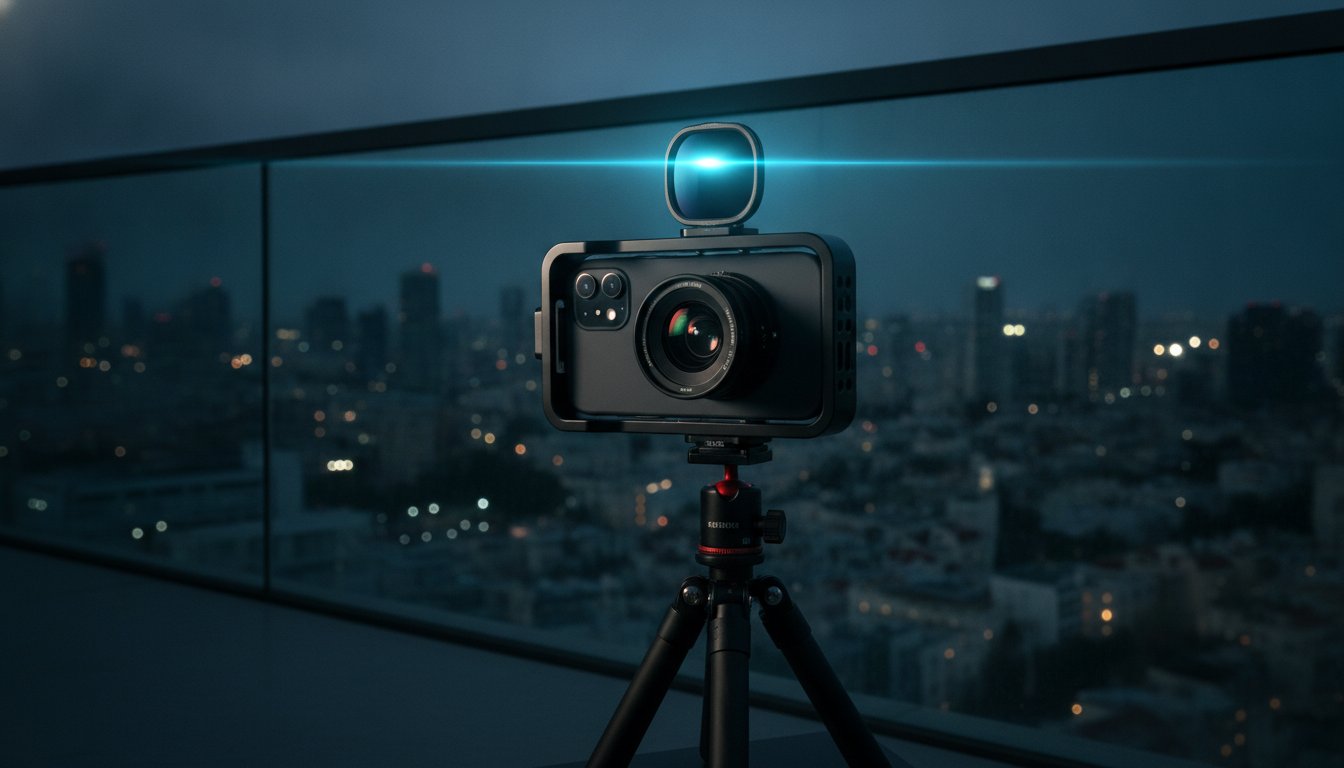
The problem is that your phone can’t hit those slow shutter speeds in the sun without overexposing the entire image. That’s where Neutral Density (ND) filters come in. Think of them as high-quality sunglasses for your lens. By using a 4-Pack ND Filter Set, you can physically block out excess light. This forces the camera to keep the shutter open longer, resulting in smooth, dream-like movement instead of a choppy digital stutter.
Controlling Reflections and Harsh Light
High-noon shoots often end in disaster with blown-out white skies and deep, muddy shadows. ND filters help you reclaim that lost detail by balancing the light intensity across the entire frame. They allow you to expose for the bright clouds without losing your subject in the dark. It’s the most effective way to handle harsh outdoor environments without carrying heavy lighting rigs.
Speed is everything when you’re chasing the perfect shot. Fumbling with screw-on filters can cause you to miss the golden hour entirely. The JJC Magnetic Lens Filter Mount solves this by allowing you to snap filters on and off in less than a second. It’s an essential workflow hack for creators who need to adapt to changing weather or moving subjects instantly. Use this setup to keep your colors saturated and your highlights under control at all times.
Elevating Your Field of View with Professional Optics
Your phone’s built-in lenses are impressive, but they have physical limits. Most mobile wide-angle lenses suffer from heavy distortion. They warp the edges of your frame and make straight lines look curved. This “fisheye” effect is a dead giveaway of amateur mobile footage. Digital zoom is even worse. It destroys resolution and introduces digital noise. If you want to know how to make phone videos look professional, you have to stop relying on software and start using glass.
External optics provide the focal length you need without sacrificing image integrity. For tight detail, a 10X Macro Lens allows you to capture textures and tiny subjects with surgical precision. It creates a natural shallow depth of field that digital “portrait modes” simply can’t replicate. It’s about getting close without losing the crisp, high-end look your audience expects.
The Anamorphic Advantage: Flares and Aspect Ratios
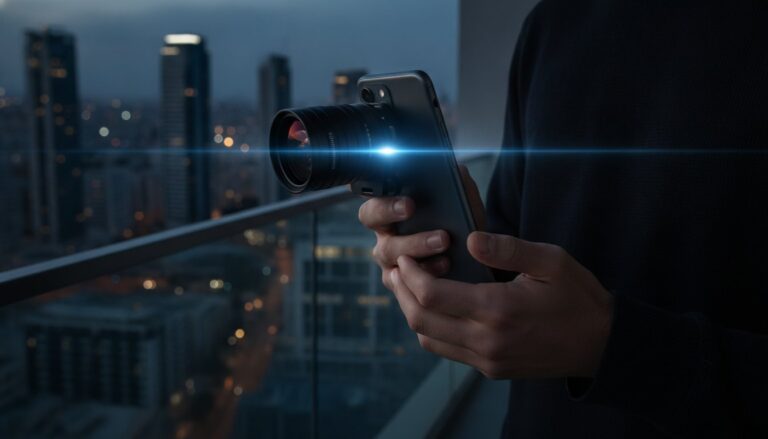
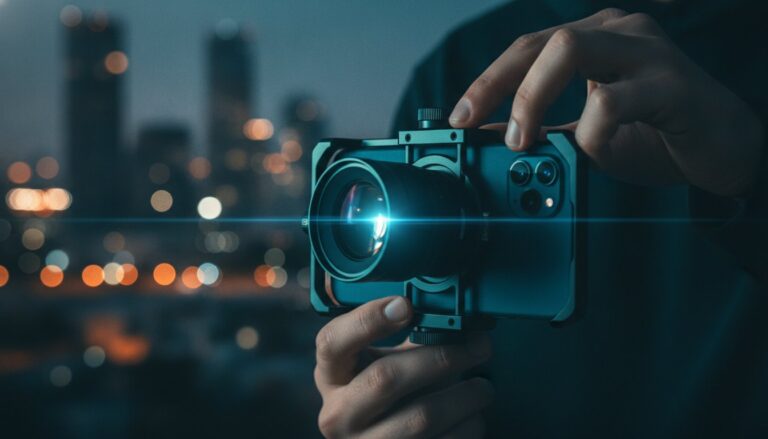
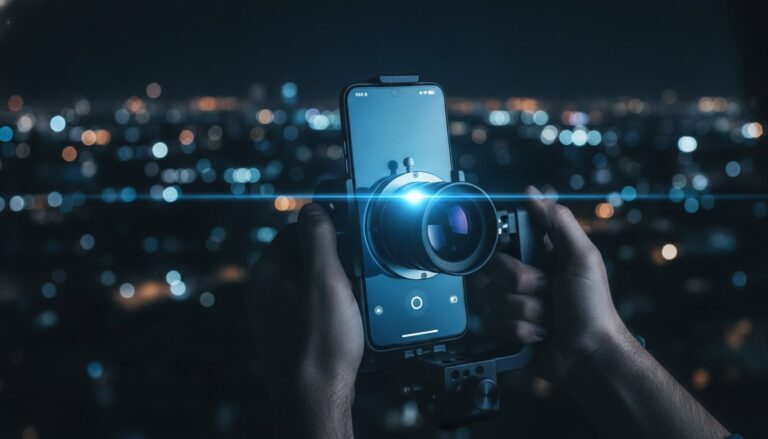
Nothing says “cinema” like the anamorphic look. The PRO 1.55X BLUE ANAMORPHIC LENS FOR SMARTPHONE is the gold standard for mobile creators. This lens physically squeezes a wider field of view onto your sensor. When you “desqueeze” it in post-production, you get that classic 2.39:1 widescreen aspect ratio used in Hollywood blockbusters. This is a massive step in how to make phone videos look professional because it changes the very shape of your story.
The real magic happens with the light. This lens produces stunning horizontal blue flares when hit by point light sources. It’s an organic, optical effect that digital filters can’t mimic. It adds an immediate layer of production value to your content. It makes your smartphone feel like a professional cinema rig rather than just a mobile device.
Expanding Your Frame with High-Quality Wide Lenses
Landscapes and real estate shots require a massive field of view. While your phone has an ultra-wide mode, it often lacks sharpness in the corners. A high-quality 16mm Wide Angle Lens provides a broad perspective with edge-to-edge clarity. It captures more of the scene while keeping your subjects looking natural and undistorted.
This is perfect for travel vlogging or architectural tours. You get the scale of the environment without the distracting distortion of a built-in lens. It’s about capturing reality as it is, only better. Choosing the right professional optics is the fastest way to bridge the gap between a simple phone clip and a cinematic masterpiece.
Achieving Pro-Level Stability and Movement
Shaky footage is the fastest way to lose an audience. It signals “amateur” the moment the frame jitters. While modern smartphones have impressive internal stabilization, they can’t fix poor handling. Mastering how to make phone videos look professional starts with physical mechanics. You need to become the stabilizer before you even touch a piece of gear.
The “Ninja Walk” is a fundamental skill for every mobile creator. It involves walking with slightly bent knees and rolling your feet from heel to toe. This technique absorbs the vertical bounce that even the best gimbals can’t fully eliminate. It keeps your torso steady while your legs act as shock absorbers. Practice this movement to turn a basic walking shot into a smooth, cinematic glide.
Weight is actually your best friend for stability. A bare smartphone is too light, making it prone to micro-jitters from your hand tremors. Adding a metal lens mount or a handheld rig provides the inertia needed for smoother movement. It gives your hands more surface area to grip, which naturally steadies your aim. When you plan your shots, focus on intentional movements like slow pans, controlled tilts, or the “push-in” to create dramatic tension.
Dynamic Movement for Action and Vlogging
Keeping the horizon level is critical during fast-paced action. If your frame tilts even a few degrees, it breaks the viewer’s immersion. For those shooting high-intensity content, the GoPro HERO 13 Max Lens Mod offers unbreakable horizon lock. It ensures your footage stays perfectly level regardless of how much the camera rotates. It’s a game-changer for creators who refuse to let terrain dictate their shot quality.
Vloggers should aim for a cohesive iPhone filmmaking kit approach. Combining a compact gimbal with external audio and light creates a mobile powerhouse. This setup allows you to move freely through environments while maintaining a professional-grade social media presence. Smooth movement isn’t just about gear; it’s about the confidence to move with your subject.
Composition Rules for Professional Storytelling
Great movement requires great composition. Use the Rule of Thirds by enabling the grid on your phone screen. Place your subject at the intersections to create a balanced, engaging frame. Look for leading lines in your environment, such as roads, fences, or hallways, to guide the viewer’s eye toward the focal point. This adds immediate depth to your visual narrative.
Depth of field is another hallmark of professional video. While software-based “cinematic modes” are improving, they often struggle with edge detection. You can achieve a more natural background blur by physically moving closer to your subject or using the macro lenses discussed in previous sections. Real glass always beats digital faking. Focus on these composition standards to ensure your smooth movement actually has something beautiful to capture.
Optimizing Camera Settings and Audio
Your phone’s brain is designed to make everything look “bright” and “sharp” automatically. For a serious creator, this automation is a nightmare. To truly master how to make phone videos look professional, you must strip away these factory defaults. Start by locking your focus and exposure. Tap and hold on your subject until the “AE/AF Lock” indicator appears. This prevents the camera from “hunting” for focus every time a person walks by or the light shifts. It keeps your lighting consistent and your story focused.
Choosing the right resolution is a strategic decision. 4K offers incredible detail and allows you to crop your shots in post-production without losing quality. However, 1080p is often sufficient for social media and saves massive amounts of storage space. The real secret lies in the frame rate. Always shoot in 24fps for a cinematic feel. This mimics the motion cadence of traditional film. Use 60fps or higher only when you plan to slow the footage down for smooth slow-motion effects.
Manual Control via Third-Party Apps
Native camera apps often apply aggressive digital sharpening. This creates a brittle, artificial texture that instantly identifies the footage as “mobile.” Use professional apps like Blackmagic Cam or Filmic Pro to gain manual control over your ISO and shutter speed. Set a custom white balance to ensure skin tones stay natural and consistent across different scenes. Disabling digital sharpening gives your footage an organic, film-like texture that feels premium and intentional.
Capturing High-Quality Audio on the Go
Professional video is 50% professional sound. If your audio is thin or windy, viewers will scroll past your content instantly. Internal microphones are designed for phone calls, not cinema. They pick up distracting ambient noise and lack the depth needed for storytelling. Invest in an external microphone to capture crisp, clear dialogue. Place the mic as close to the subject as possible to minimize background echoes and unwanted interference.
Always monitor your levels while recording. Watch the audio meters in your recording app and ensure they stay in the green. If the bars hit the red, your sound is “clipping,” which causes permanent distortion that cannot be fixed later. Clear, high-fidelity sound is the ultimate mark of a serious creator. Ready to upgrade your production? Explore the full range of professional mobile gear to ensure your audio and video quality match your creative vision.
The Final Polish: Post-Production and Gear Maintenance
The shoot is finished, but the professional transformation is just beginning. Post-production is where you turn raw footage into a polished narrative. This phase is the ultimate secret to how to make phone videos look professional. Without a final touch, your content remains just a collection of clips. Start with color grading to give your work a signature look. Simple adjustments to contrast and saturation make your footage “pop” and feel intentional rather than accidental.
Efficiency is the hallmark of a serious creator. Organize your mobile filmmaking workflow by grouping clips into folders based on scenes or shot types. This keeps your creative momentum high and prevents hours of aimless scrolling. When you reach the final step, use the correct export settings. For Instagram and TikTok, 1080p at 30fps often yields the best results by avoiding aggressive platform compression. For YouTube, always export in 4K to preserve the optical detail of your external lenses.
Gear Maintenance for Optical Clarity
A dirty lens is the silent killer of cinematic quality. Fingerprints on your glass scatter light and create a “foggy” or hazy look in your video. This grease destroys image contrast and cannot be fixed in post-production. Follow the “Clean Lens” rule: inspect your optics before every single take. Using a professional Lens Cleaning Spray is the most important daily habit you can develop. It removes oils and dust without damaging delicate lens coatings.
Always keep a smartphone lens cleaning kit in your everyday carry. A quick wipe with a fresh microfiber cloth ensures your anamorphic or wide-angle glass stays sharp. Store your lenses in protective cases when they aren’t in use. Micro-scratches are permanent and will eventually degrade your image quality. Protecting your tools ensures they continue to deliver pro-grade results for years to come.
Mobile Editing Apps for Pro Results
In 2026, mobile editing apps rival desktop software in power and precision. LumaFusion remains a top choice with a one-time purchase of $29.99 for the core app. If you prefer AI-driven features, CapCut Pro offers advanced tools for $19.99 per month. These apps allow you to add cinematic grain or subtle film burns. These textures hide the “digital” origin of your footage and provide a warm, organic feel that audiences love.
Sound design is what truly completes the cinematic experience. Don’t rely solely on a single music track. Layer in ambient sounds like distant traffic or footsteps to ground your visuals. High-quality sound design is a powerful way to master how to make phone videos look professional. It shows your audience that you are a serious creator who values the entire sensory experience. Use royalty-free libraries to find the perfect tracks that match the mood of your story.
Unleash Your Cinematic Potential
You now have the blueprint to bridge the gap between amateur clips and cinematic masterpieces. Mastery over light, motion, and optics transforms your smartphone into a powerful production studio. By overriding auto-settings with physical filters and choosing professional glass, you’ve unlocked the true secret of how to make phone videos look professional. Remember that consistency in gear maintenance and precision in audio are the final steps to establishing your creative authority.
Your vision deserves the best tools to come to life. LensLab is your creative partner, providing the high-end hardware that serious creators rely on. Our pro-grade lenses and filters are used by creators in over 20 countries. We offer fast worldwide shipping and 24/7 technical support to ensure your success on every shoot. It’s time to stop settling for basic mobile quality and start producing cinema.
Upgrade your mobile kit with LensLab pro optics! Take the leap today and see the difference that professional-grade gear makes in your storytelling. Your audience is waiting for your next big project. Go out there and create something extraordinary.
Frequently Asked Questions
Do I need a special app to make my phone videos look professional?
You definitely need a third-party app to gain manual control over your camera hardware. Native apps often apply aggressive processing that limits your creative freedom. Apps like Blackmagic Cam or Filmic Pro allow you to lock ISO, shutter speed, and white balance. This is a foundational step in how to make phone videos look professional. It stops the camera from making automatic decisions that result in inconsistent lighting.
How do I get that cinematic “blurry background” on an iPhone?
The most natural way to achieve a blurry background is through physical optics rather than software. While iPhone’s Cinematic Mode uses AI to fake depth, using a high-quality external lens creates a genuine shallow depth of field. Move closer to your subject or use a macro lens to separate them from the background. This creates a soft, organic bokeh that feels premium. Real glass always outperforms digital blurring every time.
Will an anamorphic lens work on my Android smartphone?
Yes, professional anamorphic lenses are compatible with almost any Android smartphone. You simply need a universal mounting system or a dedicated adapter like the JJC Magnetic Lens Filter Mount Adapter. This allows you to attach the PRO 1.55X Anamorphic lens to your device regardless of the brand. Just ensure your recording app supports “desqueezing” the footage. This ensures you get that iconic widescreen Hollywood look on any modern mobile device.
Why does my video look grainy even though I have a 4K camera?
Grain, or digital noise, happens when your phone tries to compensate for low light by raising the ISO. Even a 4K sensor will struggle if the environment is too dark. To fix this, you must add more light to your scene or use a faster lens. Avoid digital zoom at all costs. It crops the sensor and magnifies the grain. Keep your ISO as low as possible to maintain a clean, professional image.
What is the best frame rate for professional-looking videos?
24fps is the industry standard for a cinematic look because it mimics the motion cadence of traditional film. If you are shooting for standard social media content, 30fps is a great alternative for a crisp, modern feel. Only use 60fps or higher if you plan to slow the footage down in post-production. Shooting everything in high frame rates often leads to a “soap opera” effect that lacks professional weight and character.
Do ND filters really make a difference for mobile video?
ND filters are absolutely essential for achieving professional motion blur in bright conditions. They act as sunglasses for your lens, allowing you to use a slower shutter speed without overexposing the shot. This is the only way to follow the 180-degree shutter rule outdoors. Without them, your video will look choppy and jittery. A 4-Pack ND Filter Set gives you the flexibility to handle any lighting environment with total confidence.
How can I stop my phone from over-sharpening my footage?
Native smartphone apps apply heavy digital sharpening to make images look “clearer” on small screens. This results in a brittle, artificial texture. To stop this, use a manual camera app that allows you to turn the sharpening down to zero. Combining this with high-quality external glass provides a much softer, more organic texture. This simple adjustment is a massive part of how to make phone videos look professional and film-like.
What is the most important piece of gear for a beginner mobile filmmaker?
The most important piece of gear for a beginner is a reliable mounting system and a set of ND filters. Stability and light control are the two pillars of high-end video. A JJC Magnetic Lens Filter Mount allows you to quickly swap filters and lenses as your skills grow. Once you can control your exposure and shutter speed, your production value will skyrocket. This setup provides the most significant improvement for your investment.