How to Use a Star Filter on Your Phone: Ultimate Guide
Your smartphone camera is capable of cinematic magic that most people think requires a massive studio budget. You don’t need a heavy gear bag to capture those mesmerizing light flares seen in high-end music videos and professional cityscapes. This guide breaks down exactly how to use star filter on phone accessories to elevate your visual storytelling instantly.
It is frustrating when your creative vision is limited by dull, flat night photos. You have likely dealt with confusing technical jargon and cheap, plastic lenses that only make your shots look worse. You deserve crisp starburst effects and a setup process that does not slow down your creative flow. We believe that professional-grade output is simply a matter of having the right tools in your pocket.
We are here to bridge the gap between amateur snapshots and pro-level cinematography. You will learn how to use specialized optical glass and magnetic mounting systems to achieve stunning results. This article previews the essential gear, the best lighting conditions for success, and the simple techniques required to produce high-impact social content that looks like it was shot by a seasoned professional.
Key Takeaways
- Turn ordinary street lamps and candles into professional starbursts using specialized optical glass.
- Choose between 4-point, 6-point, and 8-point filters to control the complexity and elegance of your light flares.
- Discover why cleaning your lens and disabling Night Mode are critical steps for achieving sharp, professional results.
- Follow our expert guide on how to use star filter on phone mounts to ensure perfect alignment and zero distortion.
- Streamline your creative workflow by using magnetic mounting systems for instant filter swaps while you are on the go.
What is a Star Filter and Why Does Your Phone Need One?
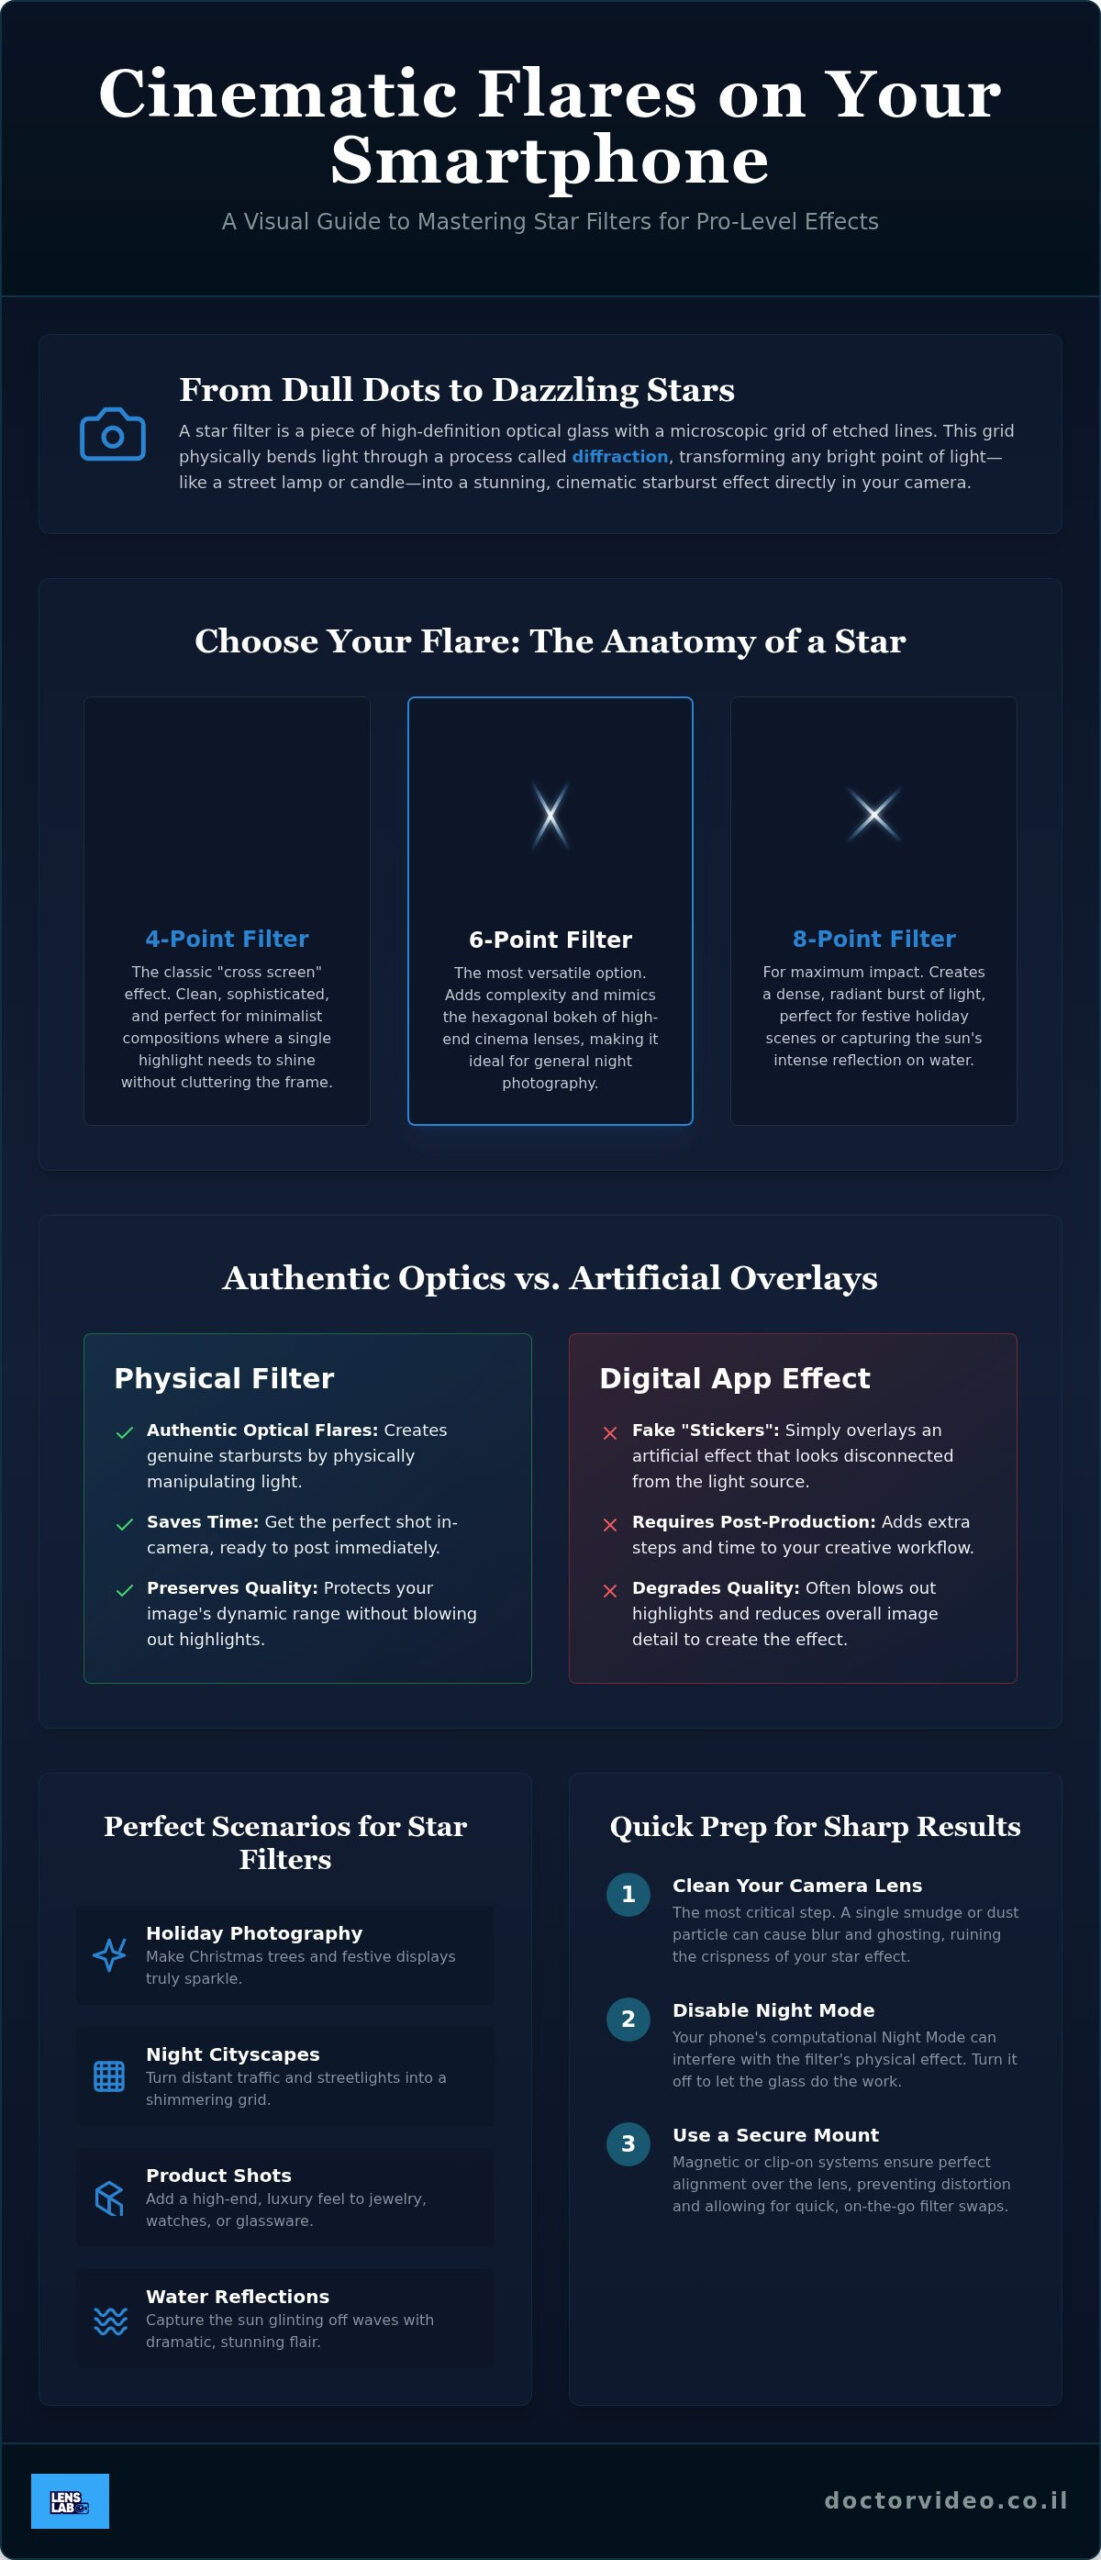
A star filter is a specialized photographic filter designed to manipulate light before it ever hits your sensor. It consists of high-definition optical glass with a microscopic grid of etched lines. These lines aren’t just for show. They physically bend incoming light rays. This process, called diffraction, turns bright points of light into radiant starbursts. You can transform a standard street lamp into a cinematic focal point in seconds. Understanding how to use star filter on phone gear is the key to unlocking these professional effects without needing a studio setup.
Your smartphone is a powerful tool, but its small sensor often renders bright lights as flat, overexposed circles. A physical filter solves this. It adds artistic structure to “specular highlights.” This makes it an essential accessory for specific shooting scenarios:
- Holiday Photography: Make Christmas trees and festive displays truly sparkle.
- Night Cityscapes: Turn distant traffic and streetlights into a shimmering grid.
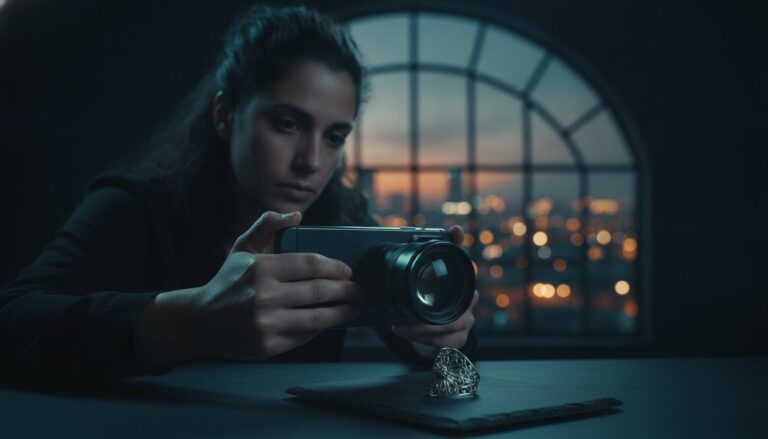
- Product Shots: Add a high-end, luxury feel to jewelry or glassware.
- Water Reflections: Capture the sun glinting off waves with dramatic flair.
The Science of Light Diffraction
The magic happens through the microscopic grid on the glass. When light hits these etchings, it scatters along the lines. This creates the “points” of the star. The number of lines determines whether you get a 4, 6, or 8-point effect. Quality matters here. Cheap plastic filters cause ghosting and blur. Professional glass maintains the same sharpness you expect from your iPhone macro photography accessories. It ensures your starbursts are crisp while the rest of the image remains tack-sharp. It’s about precision, not just decoration.
Star Filters vs. Digital Post-Processing
You might think an app can do the same thing. It can’t. Software overlays are just “stickers” placed over your image. They don’t interact with the environment. They often look fake and disconnected from the light’s actual source. A physical filter creates authentic optical flares. It saves you time in post-production. You get the perfect shot “in-camera” and can post it immediately. It also protects your dynamic range. Apps often blow out highlights to create the effect. A physical filter manages the light intensity naturally. Mastering how to use star filter on phone hardware gives you a level of authenticity that digital filters simply can’t match.
The Anatomy of a Star: 4-Point vs. 6-Point vs. 8-Point Filters
Not all starbursts are created equal. The number of spikes in your flare changes the mood of your entire shot. When you master how to use star filter on phone setups, you gain the power to choose between subtle elegance and high-energy drama. Each filter type serves a specific creative purpose, and choosing the right one is the first step toward professional-grade mobile cinematography.
- 4-Point (Cross Screen): This is the classic choice. It produces a clean “X” shape that feels sophisticated. It’s perfect for minimalist compositions where you want one highlight to stand out without cluttering the frame.
- 6-Point (Snow Star): This filter adds a layer of complexity. It mimics the natural hexagonal bokeh of high-end cinema lenses. It’s the most versatile option for general night photography.
- 8-Point: If you want maximum impact, this is it. It creates a dense, radiant burst. It’s ideal for festive holiday lights or capturing the sun’s reflection on a lake.
Control is everything in visual storytelling. Professional filters come with a rotating frame that allows you to adjust the orientation of the flares. You can turn the filter to align the star’s points with your subject’s geometry or the horizon. This level of precision helps you create compelling star effects that look intentional and polished rather than accidental.
Choosing the Right Star for Your Subject
Matching your filter to your subject is an art. Use a 4-point filter for jewelry shots or high-fashion portraits to keep the focus on the product. Switch to a 6-point filter for urban street scenes where multiple light sources need a balanced look. Save the 8-point filter for intense scenarios like sun-drenched water or massive holiday displays. This strategic approach ensures your effects always elevate the image instead of distracting the viewer. If you want to start experimenting, a high-quality Star Filter for Smartphones is the perfect entry point.
Pairing Stars with Macro Lenses
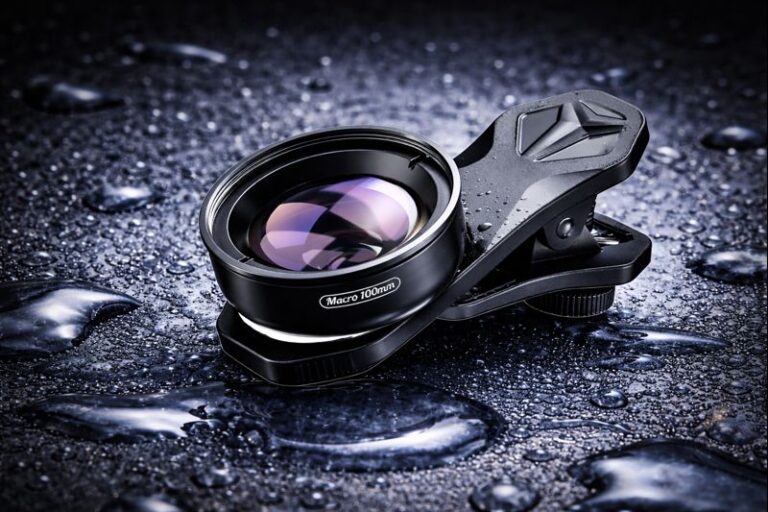
The combination of a star filter and a smartphone lens for close up shots is a game changer for nature and product creators. Imagine capturing a dewdrop on a leaf or a gemstone in a ring. The macro lens provides the detail; the star filter adds that magical “sparkle” to the highlights. You can stack these tools using the JJC Magnetic Lens Filter Mount to maintain professional image quality without adding bulk to your kit. It’s the fastest way to get complex, high-end results with zero technical frustration.
Preparing Your Smartphone for Star Photography
Technical prep is the foundation of artistic success. Knowing how to use star filter on phone hardware is only half the battle. Your device settings must match your creative ambition. A high-quality filter won’t perform if your phone’s software is working against you. Preparation ensures that every light source in your frame transforms into a sharp, intentional masterpiece.
The Importance of Lens Maintenance
A pristine surface is non-negotiable for high-end mobile optics. Microfiber cloths are a creator’s best friend for a reason. Even a tiny speck of dust trapped between your phone lens and the Star Filter for Smartphones can cause “ghosting” or unwanted light artifacts. Use a professional Lens Cleaning Spray to ensure both surfaces are crystal clear before you mount your gear. Fingerprint oils act as a secondary, uncontrolled filter that scatters light randomly and destroys the precision of your starbursts. Clean glass ensures that the diffraction grid on the filter does all the work. This results in sharp, defined spikes that look professional and polished.
Manual Camera Settings for Better Stars
Smartphone software is designed to be “smart,” but it often treats artistic flares as errors. Turn off Night Mode immediately. This computational feature tries to “correct” light streaks and can dull the sharp points of your starburst. Use a third-party app or your phone’s built-in Pro mode to take full control of your sensor. While most photographic filters work best with balanced exposures, star filters thrive on contrast. Lower your exposure compensation slider; a darker background makes the star points “pop” with dramatic intensity.
Focus locking is your next priority. Tap and hold on the primary light source until the focus locks. This ensures the light rays hit the diffraction grid at the perfect angle for maximum clarity. Advanced creators should consider how these settings interact with other optics. Pairing your star filter with a PRO 1.55X BLUE ANAMORPHIC LENS FOR SMARTPHONE can create a unique hybrid flare. The anamorphic lens provides the cinematic horizontal streak while the star filter adds the radiant spikes. Use the JJC Magnetic Lens Filter Mount Adapter for iPhone to keep everything aligned. Perfect alignment is the difference between a messy shot and a professional-grade production.
Step-by-Step: How to Use a Star Filter on Your Phone
Transforming your mobile shots requires a systematic approach. Follow these steps to master how to use star filter on phone accessories for consistent, high-impact results. Precision during setup separates a casual snapshot from a professional production. You have already prepped your gear; now it’s time to execute the shot.
- Identify your primary light source: Look for small, concentrated points of light. Large, diffused light sources like softboxes won’t trigger the diffraction grid effectively. Think distant street lamps, candles, or the sun’s reflection on polished chrome.
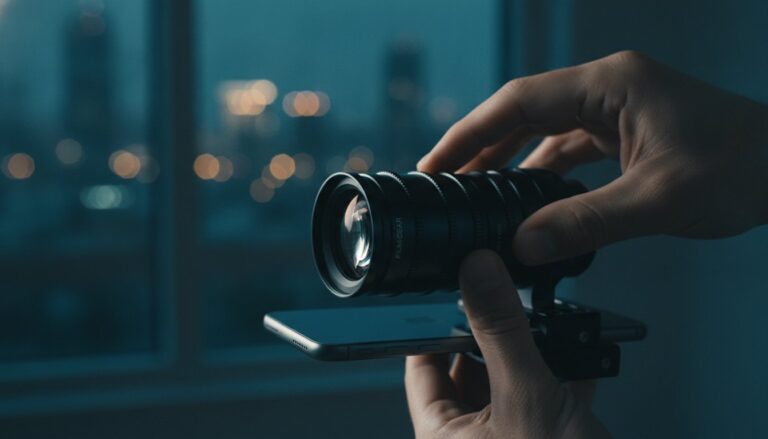
- Mount the filter: Secure your Star Filter for Smartphones over the lens. If you use the JJC Magnetic Lens Filter Mount Adapter for iPhone, the magnetic snap ensures your glass is perfectly centered and ready for action.
- Rotate for the perfect angle: Professional star filters feature a rotating outer ring. Turn it slowly while looking at your screen. This allows you to orient the star points to match the leading lines of your composition.
- Compose and capture: Hold your phone with a firm, two-handed grip or use a tripod. Motion blur is the enemy of diffraction. Even a slight tremor turns a sharp 8-point star into a blurry, unprofessional smudge.
- Review and adjust: Check your first shot immediately. If the stars are too dominant, move back. If they are too small, step closer to the light source to increase the diffraction intensity.
Aligning with Multi-Lens Arrays
Modern smartphones feature complex lens clusters that can be confusing. You must identify your “Main” wide lens before mounting any hardware. Open your camera app and cover the lenses one by one with your finger to see which one is active. Your filter must sit flush against the camera bump. Any gap allows ambient light to leak in, which kills contrast and creates a hazy, “milky” look in your shadows. If you are using an ultra-wide lens, check the corners of your frame for vignetting. This happens when the filter’s metal rim enters the field of view. A magnetic mount often provides a slimmer profile to prevent this issue entirely.
Finding the “Sweet Spot” for Light
Distance is your most powerful creative lever. Moving closer to a light source increases the physical size of the starburst spikes on your sensor. Moving further away creates tighter, more refined sparkles that feel more natural. Don’t feel restricted to shooting head-on. Try a slight “angle of attack” by positioning the light source off-center. This technique creates asymmetrical flares that lead the viewer’s eye through the frame. Using multiple light sources at different distances can create a layered, dreamy atmosphere that feels like a high-budget film set. Ready to elevate your mobile kit? Get the JJC Magnetic Lens Filter Mount Adapter for iPhone to ensure professional alignment every time.
Elevate Your Kit: Pro Gear for Serious Creators
High-end results require high-end optics. You now understand the technique behind how to use star filter on phone setups, but your hardware must be up to the task. Professional-grade output is not an accident. It is the result of using tools designed for precision. LensLab Star Filters are crafted from high-definition optical glass to ensure zero distortion. This is a critical distinction for creators who value clarity. Cheap plastic alternatives often degrade your image quality and produce muddy highlights. Your creative vision deserves better.
Durability is another factor that separates serious gear from toys. Glass filters are resistant to the minor abrasions that ruin plastic lenses over time. When you invest in professional glass, you are building a kit that will last through years of production. A complete mobile cinematography kit for 2026 focuses on modularity and speed. You need to be able to react to the environment instantly. Every second spent fumbling with gear is a missed opportunity for a perfect shot. Own the night by choosing tools that work as hard as you do.
Why Magnetic Mounts Change the Game
Clips are a relic of the past. They slip, they are difficult to center, and they often scratch your expensive smartphone screen. The JJC Magnetic Lens Filter Mount Adapter for iPhone is the modern solution for serious creators. It provides instant attachment and perfect alignment every single time. The magnetic snap ensures your Star Filter for Smartphones is exactly where it needs to be. This speed is vital when you are chasing the “blue hour” or working in fast-paced urban environments. You can also stack filters for ultimate light control. Try mounting a 4-Pack ND Filter over your star filter to manage bright highlights while maintaining those radiant spikes. It is about having total control over your sensor.
Expanding Your Creative Horizon
A star filter is a powerful tool, but it is even more effective when integrated into a larger ecosystem. Combine it with a PRO 1.55X BLUE ANAMORPHIC LENS FOR SMARTPHONE to create a hybrid look. You get the iconic horizontal flares of cinema alongside the sparkling starbursts of the filter. This combination creates a signature visual brand that stands out on any social feed. To ensure these complex effects remain sharp, use professional vlogging gear for smartphones. Stabilizing your device with a dedicated cage or tripod is essential for how to use star filter on phone accessories effectively. Stability prevents the motion blur that can soften your star points. Build a kit that empowers your ambition and watch your content transform.
Own the Night with Professional Starburst Effects
You now have the technical foundation to transform ordinary light sources into captivating visual masterpieces. Mastering how to use star filter on phone technology is about more than just snapping a photo; it’s about intentional storytelling. Remember to select your point count based on the desired mood and always rotate the frame for the perfect alignment. These small technical adjustments lead to massive creative breakthroughs that set your work apart from the crowd.
Your creative vision is no longer limited by standard smartphone optics. Professional-grade output is now within your reach. Upgrade your mobile kit with the LensLab Star Filter today! Trusted by professional mobile creators, our filters are crafted from high-definition optical glass for superior clarity. We provide fast worldwide shipping to ensure you have the right tools for your next shoot. Stop settling for dull night shots and start producing the high-impact content you’ve always envisioned. The world is full of light; go out and make it shine.
Frequently Asked Questions
Do star filters work on all smartphones?
Yes, star filters are compatible with virtually all modern smartphones, including iPhone and Android models. The key is using a proper mounting system like the JJC Magnetic Lens Filter Mount Adapter for iPhone to ensure the glass sits flush. This alignment prevents light leaks and ensures the diffraction grid covers your entire sensor for a professional look. It makes high-end effects accessible to every creator.
Can I use a star filter for video or just photos?
You can absolutely use a star filter for video production. It is a favorite tool for creators shooting music videos, night vlogs, or cinematic cityscapes. The effect happens physically on the glass, so you see the sparkling results in real-time on your screen. This adds an organic, high-end feel to your footage that digital overlays simply can’t match during post-production.
Why are my star points looking blurry instead of sharp?
Blurry star points are typically the result of lens smudges or micro-movements during the shot. Even a tiny fingerprint on your phone lens will scatter light and dull the spikes. Use a professional Lens Cleaning Spray to prep your gear before every session. Learning how to use star filter on phone hardware effectively requires starting with a perfectly pristine surface for maximum clarity.
Do I need a tripod to use a star filter on my phone?
While you don’t strictly need a tripod, using one will significantly improve the sharpness of your starbursts. Stability is crucial because any movement during the exposure can smudge the delicate lines of the star. If you are shooting handheld, try to brace your elbows against your body. Understanding how to use star filter on phone accessories means prioritizing stability to maintain the crispness of the spikes.
What is the best time of day to use a star filter?
The best time to use a star filter is when you have small, bright points of light against a darker background. Nighttime cityscapes and holiday displays are ideal for dramatic results. However, you can also get stunning results during the day. Try capturing the sun glinting off waves or chrome surfaces to add a high-fashion sparkle to your daytime social media content.
Can I stack a star filter with a macro or wide-angle lens?
You can certainly stack filters to expand your creative horizons. Pairing a star filter with a 10X Macro Lens for Smartphones is a game changer for jewelry and nature photography. It allows you to capture extreme detail while adding a magical glow to highlights. Just ensure your mounting system keeps the lenses aligned to avoid blurry edges or dark corners in your frame.
Will a star filter work with my phone case on?
Most star filters will work with a phone case, provided the case isn’t excessively bulky. A thick case can prevent the filter from sitting flush against the lens, which leads to hazy images and lost contrast. For the most reliable experience, many creators prefer using a slim, compatible case or a magnetic mounting system. This ensures your optics are always perfectly positioned for the best results.