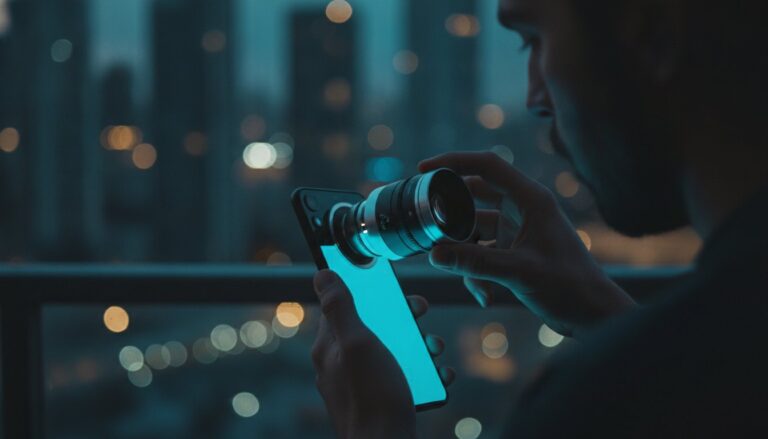
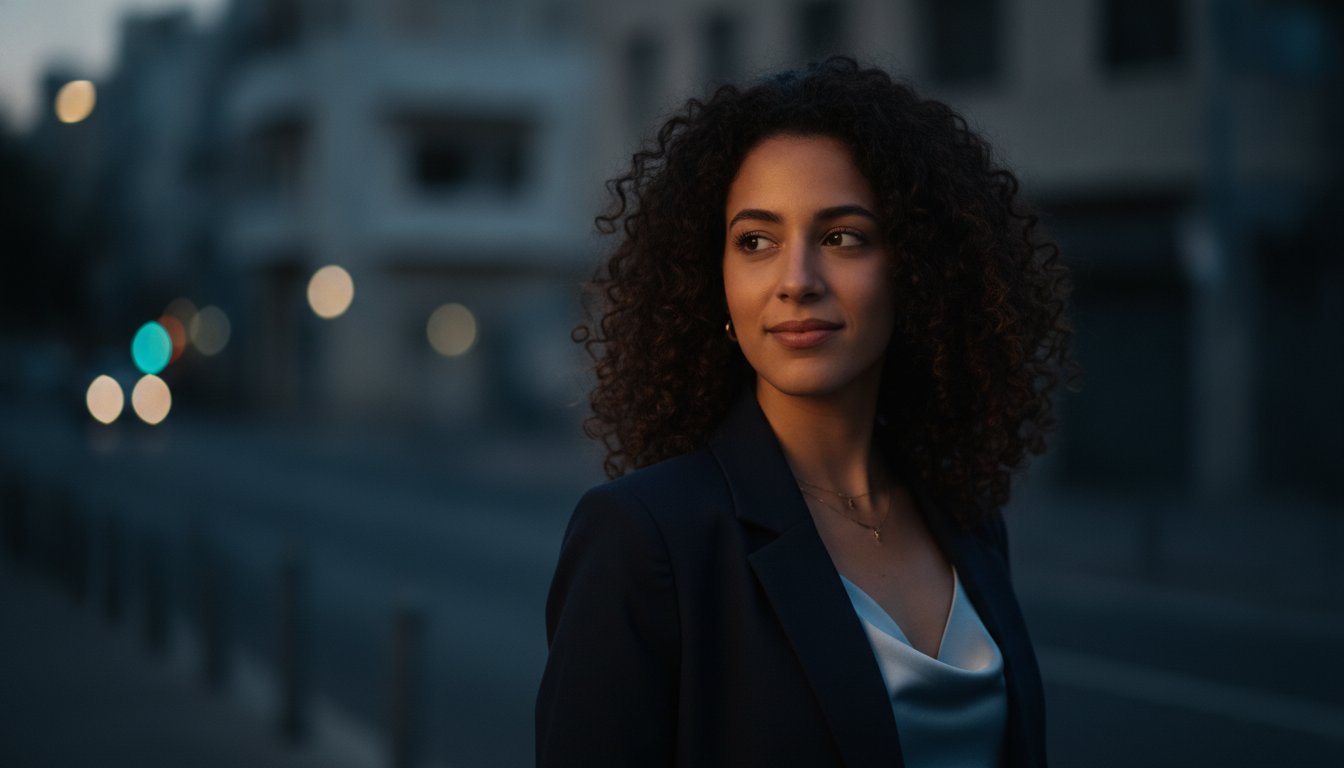
Portrait Mode vs Lens for Blurry Background: 2026 Pro Guide
The difference between a viral cinematic shot and a messy mobile snapshot isn’t a better app; it’s physics. While software algorithms have come a long way, they still struggle with the complex edges of hair, glass, and nature. You’ve likely felt the frustration when your phone’s AI accidentally blurs your subject’s ears or leaves a distracting, busy background that ruins the mood. When comparing portrait mode vs lens for blurry background, the winner is always the one that uses real glass to manipulate light.
We agree that you deserve better than “good enough” digital filters. It’s time to stop settling for flat images and start creating masterpieces with genuine depth. This 2026 pro guide will teach you how to master the secrets of professional bokeh to transform your social feed into a cinematic experience. We’ll explore how tools like the PRO 1.55X BLUE ANAMORPHIC LENS FOR SMARTPHONE or a 10X Macro Lens for Smartphones provide the sharp separation and creamy textures that software simply can’t replicate. Get ready to elevate your visual storytelling with authentic optics that make your subjects pop.
Key Takeaways
- Learn why physical optics create a natural depth of field that software algorithms can’t perfectly replicate.
- Understand the critical differences in portrait mode vs lens for blurry background to avoid common AI glitches like messy hair edges.
- Master the Golden Rule of distance to instantly create more separation between your subject and the background.
- Discover how the PRO 1.55X BLUE ANAMORPHIC LENS FOR SMARTPHONE delivers cinematic widescreen bokeh for pro-grade social content.
- See how a 10X Macro Lens for Smartphones achieves extreme subject pop for nature and product photography.
What is Bokeh? Understanding Background Blur in Mobile Photography
Bokeh isn’t just a photography term. It’s an artistic statement. When you see a professional portrait, your eyes immediately lock onto the subject while the background melts into a creamy, soft haze. This aesthetic quality of the out-of-focus areas is technically known as What is Bokeh. For years, this look was reserved for expensive DSLRs and heavy glass. Now, creators are constantly debating portrait mode vs lens for blurry background to see which one truly delivers that high-end “pop.” Standard mobile sensors often produce flat images where everything from your face to the background is in sharp focus. This lack of depth makes your content look amateur. Pro optics change the game by creating shallow depth of field, turning a busy street into a cinematic backdrop.
The Psychology of a Blurry Background
Blur does more than hide a messy room. It acts as a visual spotlight. By removing distracting details, you direct the viewer’s eye exactly where you want it to land. This creates an immediate emotional connection. Soft, dreamy backgrounds in portraits evoke a sense of intimacy and focus. Professional headshots and high-end product photos rely on this effect to establish authority and value. For influencers and vloggers, subject separation is a storytelling tool. It tells your audience that you are the priority of the frame. It builds a cinematic feel that keeps viewers engaged longer and makes your social feed stand out from the crowd.
Why Your Phone Needs Help to Get the Look
Your smartphone is a marvel of engineering, but it can’t cheat the laws of physics. Mobile cameras use tiny sensors and wide-angle lenses. These are designed to keep everything in focus by default. It’s a safety net for casual users, but a hurdle for serious creators who want professional results. Optical depth is the physical result of light passing through a lens to create a specific point of focus.
Why standard phones struggle to achieve natural blur:
- Small sensors lack the surface area needed to capture natural focus fall-off.
- Wide-angle lenses have a naturally deep depth of field that keeps backgrounds sharp.
- AI algorithms often struggle with complex textures like hair, glasses, or transparent objects.
This brings us to the core of the portrait mode vs lens for blurry background debate. While software tries to guess where edges are, physical lenses like the PRO 1.55X BLUE ANAMORPHIC LENS FOR SMARTPHONE or the 10X Macro Lens for Smartphones use real glass to bend light. This hardware-level depth looks significantly more authentic than any digital filter. By adding high-quality optics, you bypass the limitations of your phone’s sensor to achieve a look that was once only possible with a bulky professional camera.
The Physics of Blur: How to Use Distance to Create Depth
You don’t need a computer science degree to understand why some photos look professional while others look like flat snapshots. It comes down to basic optics. While many creators obsess over software settings, the real secret lies in how you position your subject. When evaluating portrait mode vs lens for blurry background, the physical distance between your phone, your subject, and the scenery is your most powerful tool. You can actually force your phone to create natural blur by following two simple laws of physics.
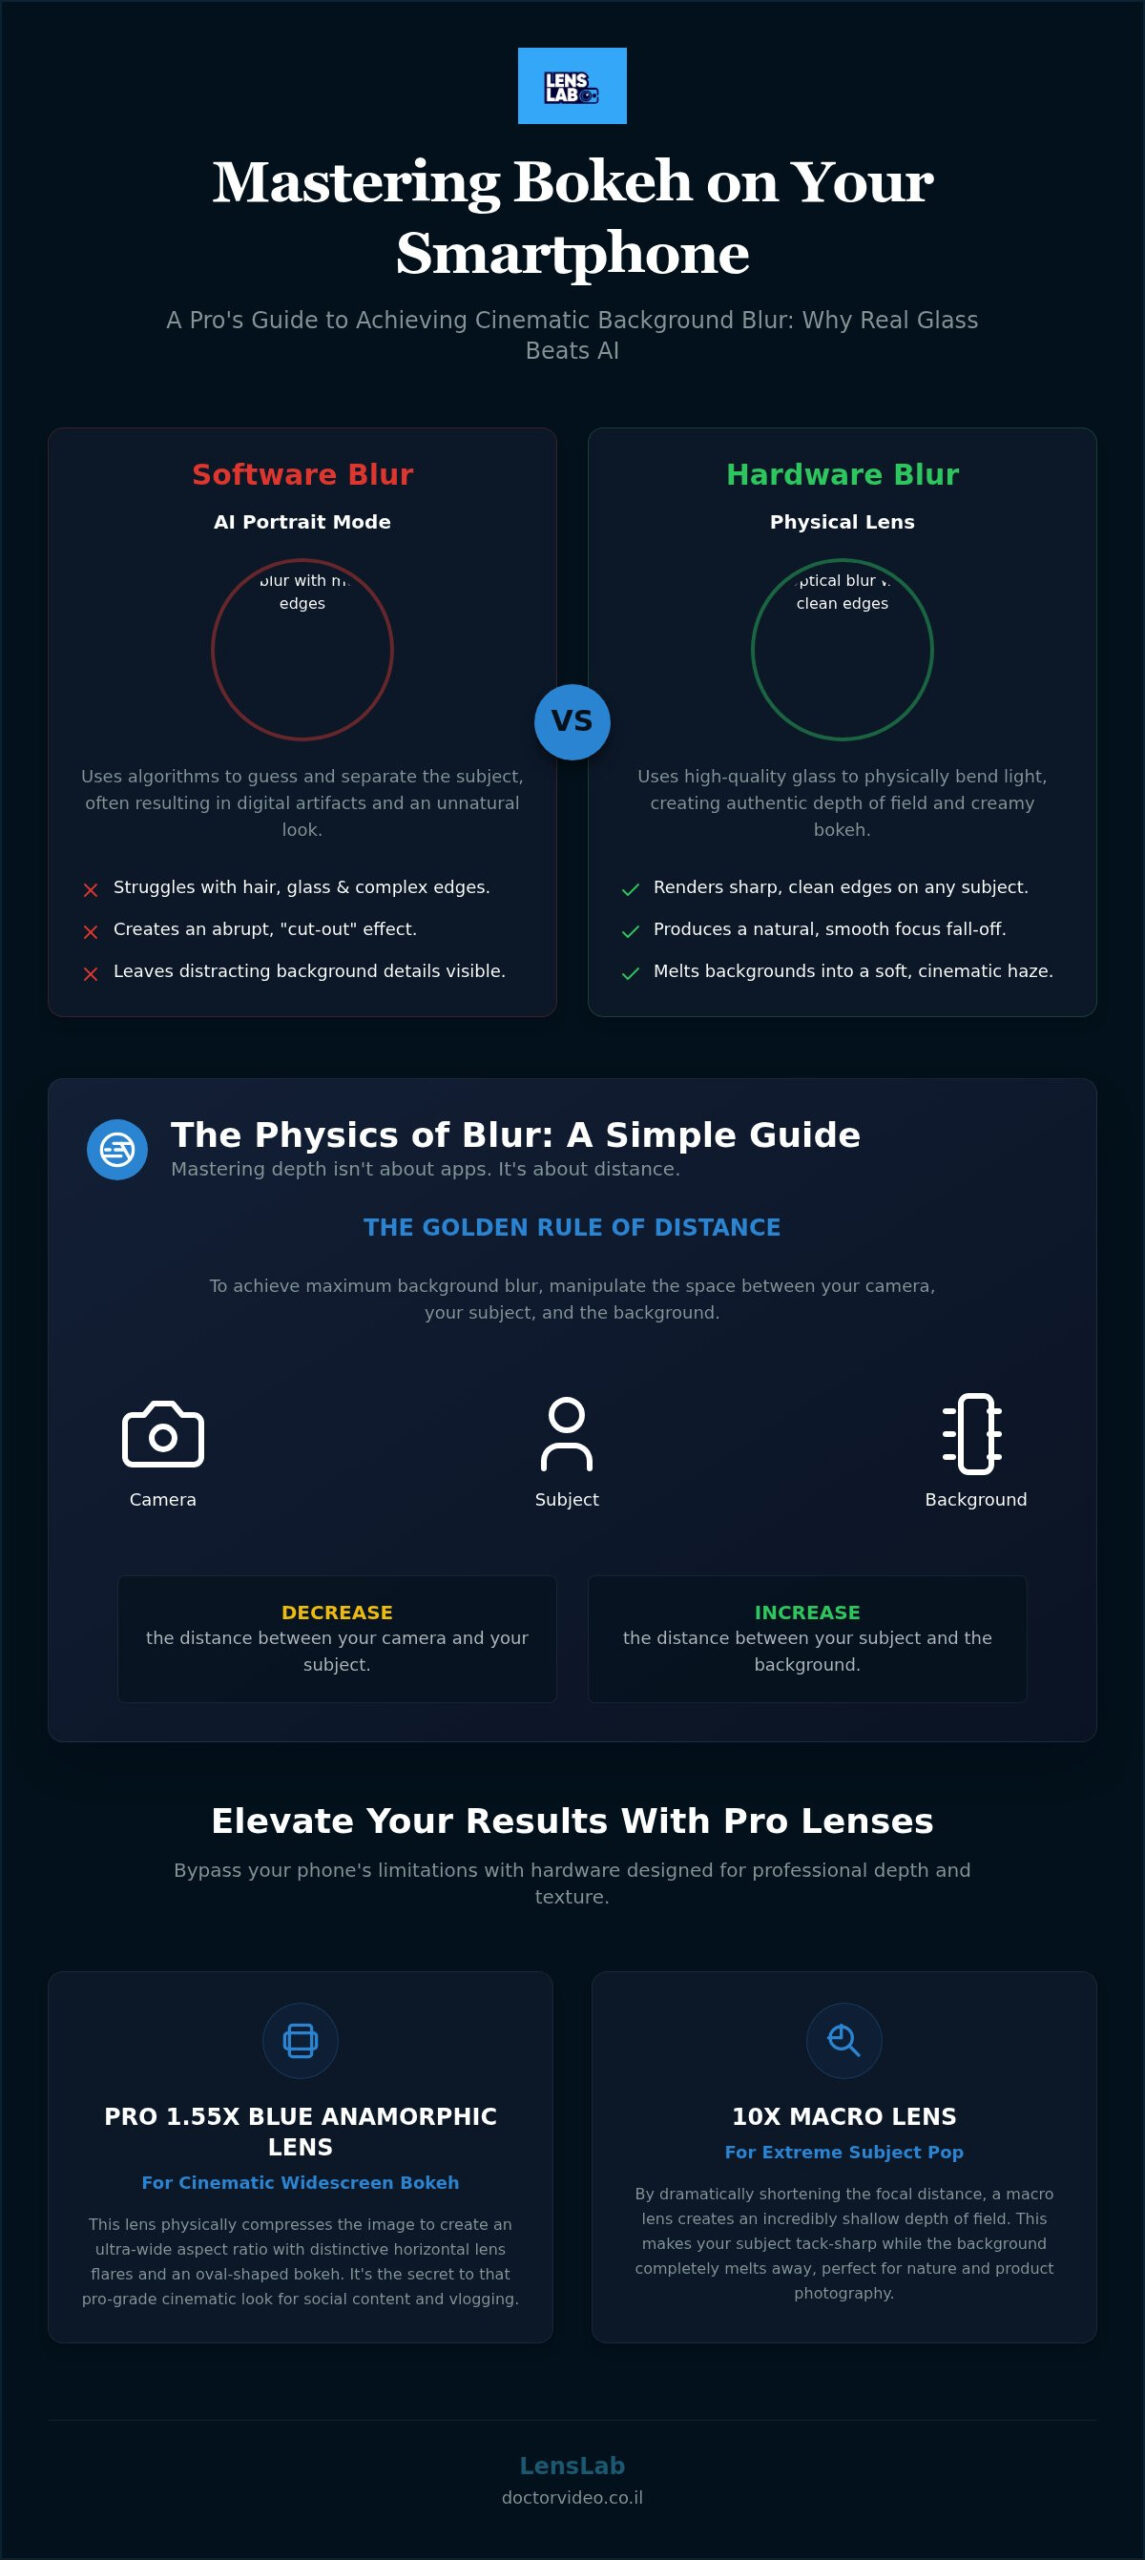
The Golden Rule is simple: increase the distance between your subject and the background. If your subject stands right against a wall, your phone sensor perceives them as part of the same plane. By moving them further away, you create a gap that the lens can’t keep sharp simultaneously. Combine this with the Proximity Rule, which states you should decrease the distance between your phone and your subject. The closer you get to your subject, the narrower your focal plane becomes. This dual movement creates a “sandwich” of focus that isolates your subject perfectly.
Mastering the Subject-to-Background Ratio
Think of your shot in three distinct layers: the foreground, the subject, and the background. To get that creamy look, you need to expand the space between the subject and the background layer. A subject leaning against a building will always result in a flat image because there’s no room for the light to fall out of focus. Try this practical exercise: move your subject at least three feet away from any surface. You’ll see an instant improvement in depth. For those who want to push this even further, using high-quality smartphone lenses allows you to achieve this separation without the glitchy edges common in AI software.
Finding the Sweet Spot for Your Phone Lens
Every lens has a minimum focus distance. This is the closest you can get before the camera can’t lock on. Your phone’s main lens is usually the best choice for natural blur because it has a wider aperture than the ultra-wide lens. Ultra-wide lenses are designed to keep everything sharp, which is the opposite of what you want for a professional portrait. To enhance the sense of depth, look for backgrounds with leading lines. A long hallway, a row of trees, or a receding shoreline pulls the viewer’s eye through the blur, making the 3D effect feel more pronounced. This physical approach ensures your portrait mode vs lens for blurry background results look authentic and cinematic every time.
Portrait Mode vs. External Lenses: Software vs. Hardware Reality
Software is a simulation. Hardware is a physical fact. When you compare portrait mode vs lens for blurry background, you’re looking at the difference between a digital filter and a physical event. Portrait mode uses AI to scan your subject, create a digital mask, and apply a uniform blur to the rest of the frame. It’s a clever trick that works well for casual snapshots, but it’s fundamentally limited by the data your phone’s sensor can provide. Real depth isn’t just about blurring what’s behind you; it’s about the organic way light interacts with glass.
The Limitations of Digital Computation
Complex edges are the enemy of digital computation. Look closely at a Portrait Mode shot and you’ll often see “halo” artifacts around hair strands or blurred-out earlobes. It consistently fails at transparent objects like glasses, jewelry, or water bottles because the AI can’t distinguish between the object and the background. In low light, sensor noise makes these depth-mapping calculations even messier, leading to a “cut-out” look that feels flat and unnatural. Digital blur is a filter, while optical blur is a physical reality.
The Hardware Advantage: Smartphone Add-On Lenses
Optical glass changes how light hits your sensor before any processing happens. By attaching a smartphone anamorphic lens, you achieve a cinematic widescreen depth that software algorithms simply cannot simulate. The focus fall-off is gradual, smooth, and natural. This hardware-level separation mimics the look of high-end cinema cameras, providing a professional aesthetic that stands up to close inspection. It gives your images a “pop” that feels high-end because it is based on the actual physics of light.
Think of a lens as a permanent upgrade to your creative toolkit. You aren’t at the mercy of a software update or a specific app’s edge-detection logic. You get consistent, professional results in every lighting condition. Hardware-level bokeh provides the sharp subject separation that makes your content look expensive and deliberate. If you’re serious about your craft, stop relying on code and start trusting the glass. This is the only way to truly win the portrait mode vs lens for blurry background battle.
Step-by-Step: 5 Pro Techniques for Better Phone Bokeh
Success in mobile photography is about execution. You’ve learned the physics of light and the hardware advantages. Now, you need a repeatable workflow to ensure every shot hits the mark. Whether you are choosing portrait mode vs lens for blurry background, these techniques will bridge the gap between a casual snap and a professional production. Use these five steps to master your depth of field every time you hit the shutter.
- Clean your glass. A single fingerprint smudge ruins the sharp subject separation you’re trying to achieve. Use a Lens Cleaning Spray and a microfiber cloth before every session to ensure maximum clarity.
- Use the Telephoto lens. If your phone has a dedicated zoom lens, use it. Longer focal lengths naturally compress the background, making the blur appear thicker and more professional than a wide-angle lens.
- Master the AE/AF Lock. Tap and hold on your subject until the yellow box pulses. This locks your focus and exposure, preventing the phone from hunting for the background mid-shot.
- Hunt for backlighting. Position your subject so the light source is behind them. This creates a “rim light” effect that helps the subject pop against the out-of-focus areas.
- Review and pivot. Take a test shot. If the background isn’t blurry enough, move your subject further from the wall or bring your phone closer. Small adjustments make the biggest difference.
Locking Your Focus Like a Pro
Consistency is the hallmark of a serious creator. When you lock your focus, you take control away from the AI. This is vital for maintaining a sharp subject while you move the camera. Once the focus is locked, swipe the exposure slider down slightly. This darkens the background and makes your subject’s features stand out with more intensity. Manual control is the key to professional results, especially when building a high-end kit of vlogging gear for smartphones. It ensures your cinematic look remains stable regardless of how the background lighting shifts.
Lighting for Better Bokeh
Bokeh is the shape of light. To get those classic “bokeh circles,” look for small, bright light sources in the background like city lights or fairy lights. These points of light will expand into beautiful, soft orbs when they fall out of focus. You can enhance this effect by using a JJC Magnetic Lens Filter Mount Adapter for iPhone. This allows you to snap on filters that manage glare or add a cinematic glow to your highlights. Position your subject relative to the sun during golden hour for soft, glowing edges that blend perfectly into the background blur. This physical approach to lighting ensures your portrait mode vs lens for blurry background comparison always favors the organic look of real optics.
Ready to stop relying on software and start shooting with professional glass? Explore our full range of smartphone lenses and filters to transform your mobile content today.
Elevate Your Results: The Best Lenses for Professional Background Blur
Software is a great starting point for casual creators, but serious visual storytellers know that glass always wins. In the ultimate showdown of portrait mode vs lens for blurry background, high-quality optics provide the hardware-level separation that software simply cannot touch. You don’t need a bulky, expensive DSLR to get professional results. You just need the right glass attached to the phone you already own. By investing in physical lenses, you bypass the “uncanny valley” of digital filters and enter the world of true optical depth.
Building a mobile creator kit that rivals professional film gear is now an attainable goal. You can achieve sharp subjects and creamy backgrounds in any lighting condition. While your phone’s AI tries to guess where your subject ends, a physical lens uses the laws of physics to create a natural, organic transition. This hardware advantage is what separates viral sensations from amateur snapshots. It’s about giving your audience a visual experience that feels expensive and deliberate.
Macro Photography: Extreme Depth for Tiny Details
The 10X Macro Lens for Smartphones is the undisputed king of subject separation for small-scale subjects. It allows you to get incredibly close to your subject while the background completely disappears into a soft haze. This lens naturally creates a paper-thin depth of field that is physically impossible for a standard wide-angle phone lens to achieve. It is the perfect tool for jewelry, nature, or intricate product photography. Using the best macro lens for smartphone turns a simple blade of grass or a drop of water into a cinematic masterpiece. You get sharp, crisp details on the subject with a creamy, organic blur that highlights every tiny texture.
Cinematic Widescreen: The Anamorphic Edge
For those aiming for a Hollywood look, the PRO 1.55X BLUE ANAMORPHIC LENS FOR SMARTPHONE is your secret weapon. It doesn’t just blur the background; it reshapes it. This lens creates the iconic oval bokeh and horizontal blue flares seen in blockbuster movies. Unlike the generic blur of an app, this lens provides a widescreen perspective that adds instant production value to your videos. This is the definitive answer to the portrait mode vs lens for blurry background debate for filmmakers. It provides a level of sophistication that no software update can replicate. Stop relying on digital shortcuts that look fake. Upgrade your mobile kit with LensLab pro optics today! and start capturing real, physical depth.
Take Command of Your Cinematic Storytelling
Software is a starting point, but physical glass is the destination. You’ve learned how to master the distance between your subject and the background to create natural depth. However, when you weigh up portrait mode vs lens for blurry background, real optics provide the organic bokeh that AI simply can’t fake. You now have the techniques to lock focus and use light like a professional; now it’s time to equip yourself with the tools that make those skills shine.
The right hardware changes everything. Whether you want the cinematic widescreen look of the PRO 1.55X BLUE ANAMORPHIC LENS FOR SMARTPHONE or the extreme detail of a macro setup, professional results are within your reach. LensLab offers fast worldwide shipping for creators and 24/7 support for mobile filmmakers to ensure you’re always ready to create. Upgrade your smartphone photography with pro-level lenses at LensLab and stop settling for flat, digital filters. Your vision deserves the clarity and depth that only real glass can provide. Go out and capture your masterpiece.
Frequently Asked Questions
Why is my phone camera not blurring the background automatically?
Your phone is designed to keep everything sharp by default. Mobile sensors are small and use wide-angle lenses to maximize the area in focus for casual users. To get that pro look, you must manipulate the laws of physics. This is why the portrait mode vs lens for blurry background debate matters. You need to change your distance or add glass to force the light to blur.
Can I get a blurry background on an older Android or iPhone?
Absolutely. You don’t need the latest AI powered flagship to get professional results. While older phones lack advanced software processing, they still obey the rules of optics. By adding a 10X Macro Lens for Smartphones or a telephoto attachment, you create physical depth of field. This hardware first approach works on any device regardless of its age or internal software limitations.
What is the difference between Portrait Mode and a macro lens?
Portrait Mode is a software simulation that “cuts out” your subject. A macro lens is a physical tool that creates real depth. Using a 10X Macro Lens for Smartphones allows you to focus on tiny details while the background melts away organically. AI often misses small details like hair or transparent edges. Real glass captures these perfectly every time without any digital artifacts.
How far should my subject be from the background for the best blur?
Distance is your best friend. Try to keep at least two meters between your subject and whatever is behind them. If they stand too close to a wall, the lens sees them as part of the same layer. By increasing the gap, you force the background into the out of focus area. This simple physical adjustment instantly makes your mobile shots look like they were taken on a pro camera.
Do I need an app to make the background blurry on my phone?
You don’t need a special app if you use the right optics. Apps try to fix flat images after you take them, but they can’t add real light data. Using a PRO 1.55X BLUE ANAMORPHIC LENS FOR SMARTPHONE gives you authentic cinematic depth directly in your native camera app. Hardware upgrades save you time in editing and provide a much more realistic look than any filter.
Is it better to use a wide-angle or telephoto lens for background blur?
Telephoto lenses are the winners for background blur. Wide-angle lenses, like a 16mm Wide Angle Lens for Smartphones, are built to keep the whole landscape sharp. Telephoto optics compress the scene and narrow the focal plane. This compression makes the background appear closer and much more blurred. Always choose a longer focal length when your goal is to make your subject pop.
How do I get those circles of light in my blurry background?
Those beautiful circles are created by out of focus highlights. Position your subject so there are small light sources, like street lamps or fairy lights, far in the distance. When you use real glass lenses, these lights expand into soft, organic orbs. You can even use a Star Filter for Smartphones to add a professional sparkle to these highlights. This effect looks far superior to digital overlays.
Will an external lens work with my phone case?
Lens alignment is critical for sharp results. Most external lenses perform best when they sit directly against the phone’s native glass. Thick cases can cause dark corners or soft edges in your photos. To solve this, use a JJC Magnetic Lens Filter Mount Adapter for iPhone. It provides a stable, perfectly aligned connection point. This ensures you get professional quality without having to remove your protective case every time.