Mastering Light: The Ultimate Guide to Mobile Video Light Control Filters (2026)
Why does your ₪4,500 smartphone still produce video that looks like a cheap home movie? You’ve likely felt the frustration of filming a stunning midday scene only to find the sky blown out and the movement looking like a jagged, digital mess. It’s an open secret among creators that even the best mobile sensors can’t fight physics on their own. You need more than just a better app; you need mobile video light control filters to manage exposure before the light even hits your sensor.
You already know that great lighting is the soul of every viral video, but managing it shouldn’t feel like a chore. This guide is your roadmap to mastering professional light control to unlock a cinematic aesthetic. We’ll show you how to eliminate overexposure, crush harsh reflections on water or glass, and achieve the elusive 180-degree shutter rule for buttery motion blur. You’ll learn exactly which tools to pack in your kit to transform raw footage into a masterpiece. We are diving into everything from variable ND setups to the latest magnetic mounting systems that make professional cinematography feel effortless.
Key Takeaways
- Stop fighting your phone’s auto-exposure and start controlling light physically for a true cinematic look.
- Master the use of mobile video light control filters to maintain the 180-degree shutter rule even in the harshest sunlight.
- Use Circular Polarizers to eliminate unwanted glare and capture the deep, rich colors of the Mediterranean sky.
- Streamline your production with the JJC Magnetic Mount for lightning-fast filter swaps without missing a single shot.
- Build a versatile kit that works across your smartphone and GoPro to ensure consistent, professional results in any environment.
Why Your Phone Needs Light Control Filters to Look Cinematic
Your smartphone is a marvel of engineering, but it’s trapped by the laws of physics. Even the most advanced 2026 sensors struggle when faced with high-resolution demands and intense ambient light. When you step outside into the bright Israeli sun, your phone’s sensor is flooded with light in mere milliseconds. Without physical intervention, the device has only one way to cope: it forces the shutter to snap open and shut at lightning speeds. This creates a clinical, hyper-real look that feels more like a security camera than a cinema screen.
This is where mobile video light control filters become your most valuable asset. These aren’t digital overlays or app-based presets that you apply after filming. They are precision-engineered glass tools that physically modify the light before it ever touches your camera sensor. Think of them as high-performance sunglasses for your lens, allowing you to maintain total creative control over how your camera perceives the world around you.
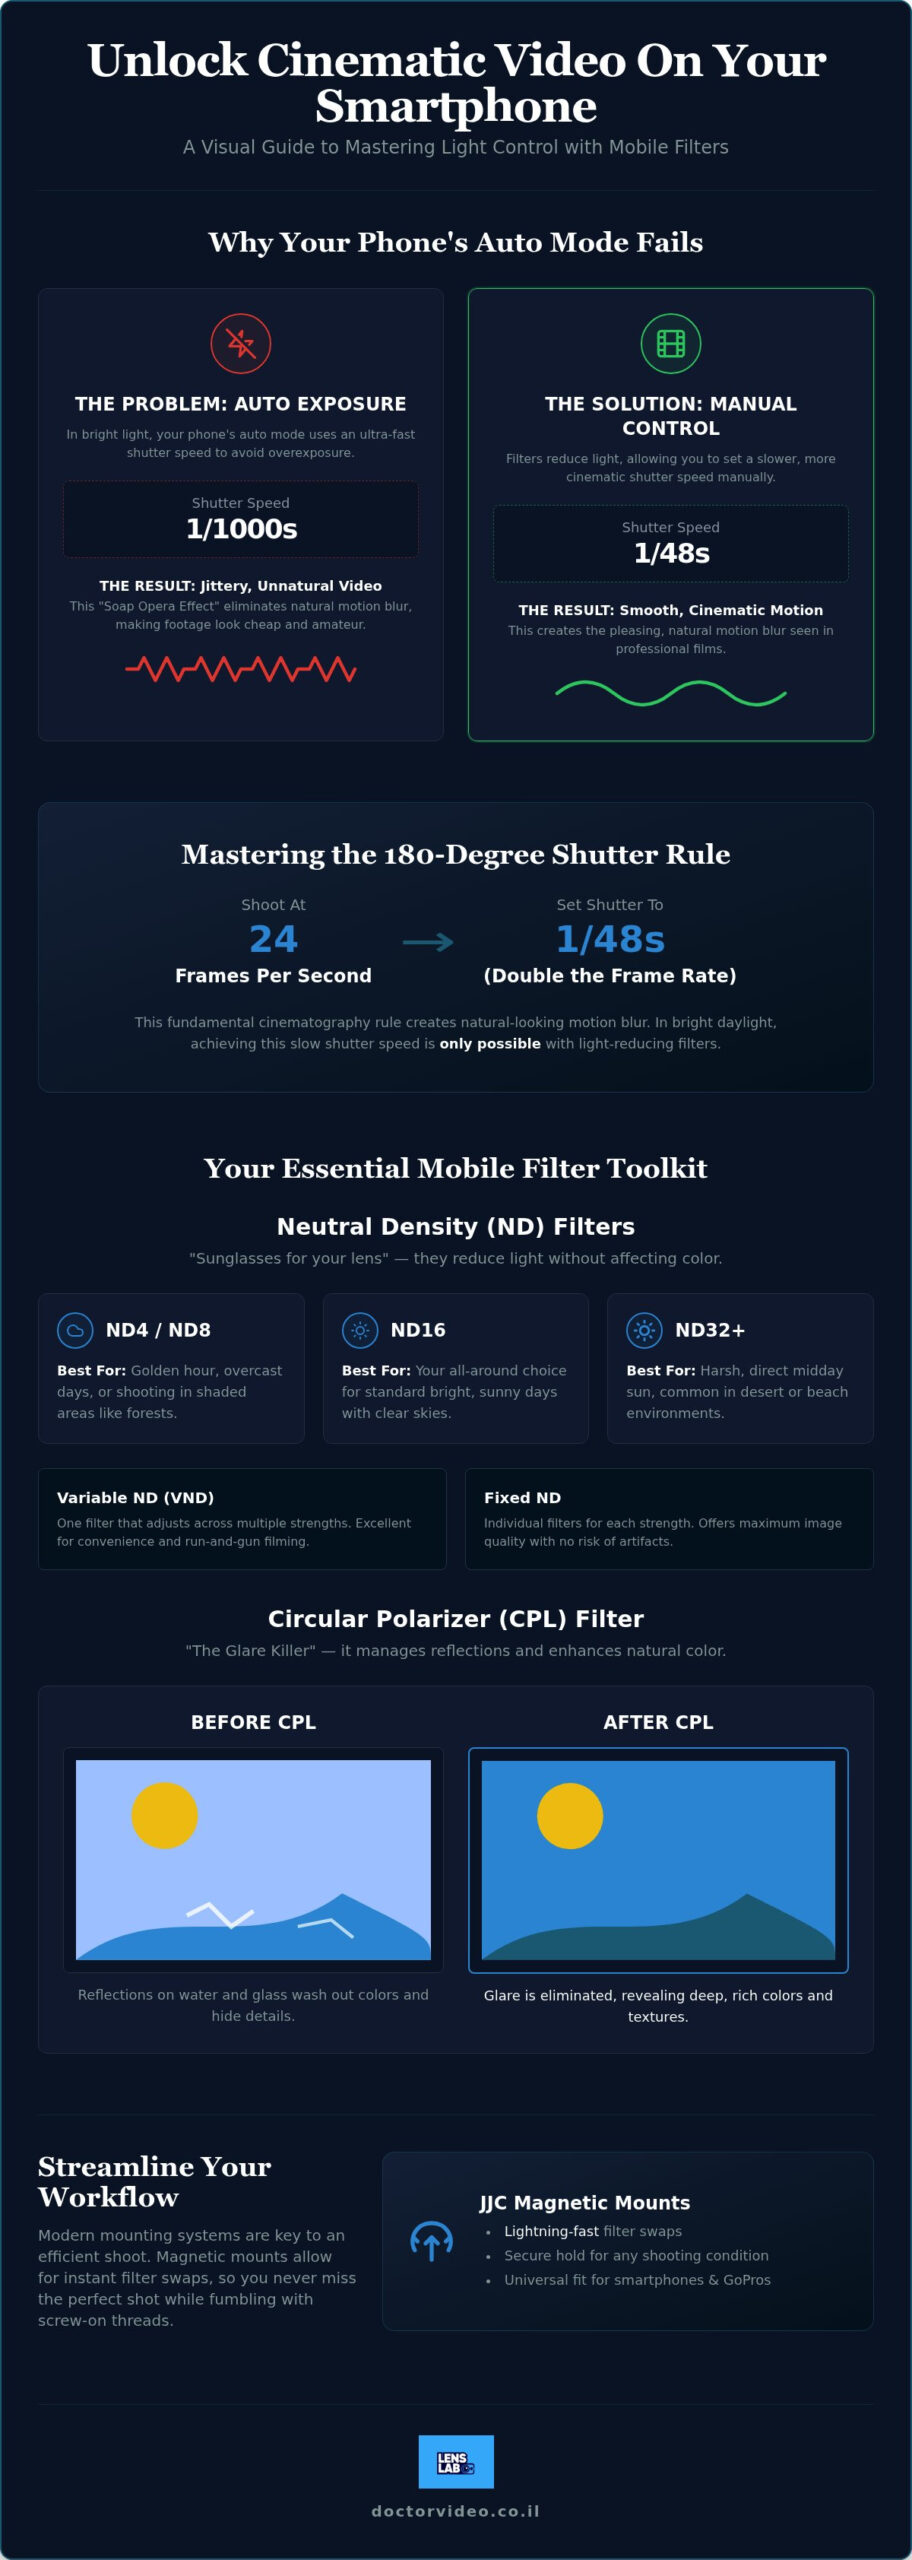
To get that professional look, you must respect the 180-degree shutter rule. This rule dictates that your shutter speed should always be double your frame rate. If you are shooting at 24 frames per second, your shutter speed needs to be 1/48 of a second. This specific timing creates the natural, rhythmic motion blur that our eyes expect to see in high-end films. Achieving this on a smartphone in broad daylight is impossible without the right hardware to cut down the incoming light.
The Problem with Automatic Mobile Exposure
Your phone’s brain is programmed to prioritize a clear image over an artistic one. In bright environments, it compensates for the excess light by jacking up the shutter speed to 1/1000 or higher. This eliminates motion blur entirely, resulting in the dreaded Soap Opera Effect where every movement looks jittery and unnatural. Shutter speed is the specific duration of time your phone’s sensor is exposed to light for every single frame of your video. When this number is too high, action shots lose their soul and feel amateur.
Hardware vs. Software: Why Glass Always Wins
Many creators believe they can fix exposure in post-production, but software has a hard ceiling. Once a pixel is “clipped” or completely white, the visual data is permanently lost. No amount of editing can recover the detail in a blown-out sky or a white shirt. Physical glass preserves your dynamic range by keeping highlights under control from the start. By using mobile video light control filters, you can also keep your ISO at its lowest base level. This ensures your footage remains crisp and noise-free, even when you’re pushing the creative limits of your sensor.
Essential Mobile Video Filters Every Creator Needs
Selecting the right glass is the bridge between amateur clips and professional cinema. While your phone’s software tries to “guess” the scene, physical mobile video light control filters provide the raw data your sensor needs to excel. You don’t need every filter ever made; you need a curated selection of workhorses that solve specific environmental challenges. Building a kit that balances utility with creative flair is the first step toward visual mastery. For a detailed breakdown of the latest options on the market, our mobile photography filters 2026 hardware comparison guide covers everything from magnetic ND sets to specialty glass in depth.
Neutral Density (ND) Strengths Explained
ND filters are essentially sunglasses for your camera. They reduce light intensity without changing its color. This is critical for maintaining the 180-degree shutter rule in bright environments. Choosing the right strength depends on the intensity of your light source:
- ND4 and ND8: Perfect for the “Golden Hour” or heavily shaded forest trails.
- ND16: Your go-to for standard bright daylight and clear skies.
- ND32: Necessary for the harsh, direct midday sun common in the Middle East.
You have two main choices: Variable ND (VND) or Fixed ND. A VND allows you to twist the frame to adjust light levels instantly. It is the ultimate tool for speed and convenience when the clouds are moving fast. Fixed filters, however, offer the highest possible image quality with zero risk of “X-pattern” artifacts. Pro tip: High-intensity light often washes out the characteristic flares of a smartphone anamorphic lens. Use a strong ND filter to bring your exposure down. This allows those cinematic blue flares to pop against a perfectly balanced background.
The Magic of the CPL Filter
The Circular Polarizer (CPL) is a landscape creator’s best friend. It doesn’t just darken the scene; it manages how light bounces off surfaces. By simply rotating the filter, you can cut through the glare on the Mediterranean Sea or remove distracting reflections from a glass storefront. This reveals the true texture and color beneath the surface that would otherwise be lost to white highlights.
A CPL also naturally deepens the blue of the sky and increases the saturation of greenery. It does this physically, which looks far more natural than any “vivid” digital preset. For the ultimate setup, stack a CPL on top of an ND filter. This combination gives you both cinematic motion blur and rich, glare-free colors in a single shot.
Diffusion and Specialty Glass
If you want your 2026 footage to have a vintage, filmic soul, reach for a diffusion filter. It slightly “blooms” the highlights, softening the digital sharpness of modern smartphone sensors for a more organic look. For night shoots, a Star Filter can turn streetlights into sparkling accents, adding a touch of magic to urban scenes. If you are ready to upgrade your production value, check out the professional filter sets available to help you master mobile video light control filters in any condition.
Mounting Systems: How to Attach Filters to Your Smartphone
Your mounting system is the literal backbone of your mobile cinematography. Even the highest quality mobile video light control filters fail if they aren’t perfectly aligned with your lens. A secure, light-tight connection ensures that every photon passing through the glass is intentional. In the fast-paced world of 2026 content creation, the way you attach your gear determines whether you catch the moment or miss it while fumbling with equipment.
The JJC Magnetic Advantage
Speed is everything when you are shooting on the move. The JJC Magnetic Lens Filter Mount Adapter for iPhone has revolutionized the modern workflow by leveraging MagSafe technology. You can snap your filters onto your device in a fraction of a second. This frictionless approach allows you to swap from a CPL to an ND filter without ever losing your rhythm. For creators using Android or non-MagSafe cases, universal magnetic rings provide these same high-speed benefits. It is the current gold standard for staying agile and professional in the field.
Threaded vs. Clip-on Adapters
Threaded mounts provide the maximum stability required for pro-level glass. They are the preferred choice for rigorous action shots where vibrations are a constant factor. In contrast, universal clip-on adapters offer broad compatibility across different phone models but come with significant risks. Many low-end clips fail to create a light-tight seal. This allows stray light to seep in from the sides, causing internal lens reflections that ruin your contrast. Always ensure your mount sits flush against the phone body to maintain the integrity of your footage.
Stacking Filters and Lenses
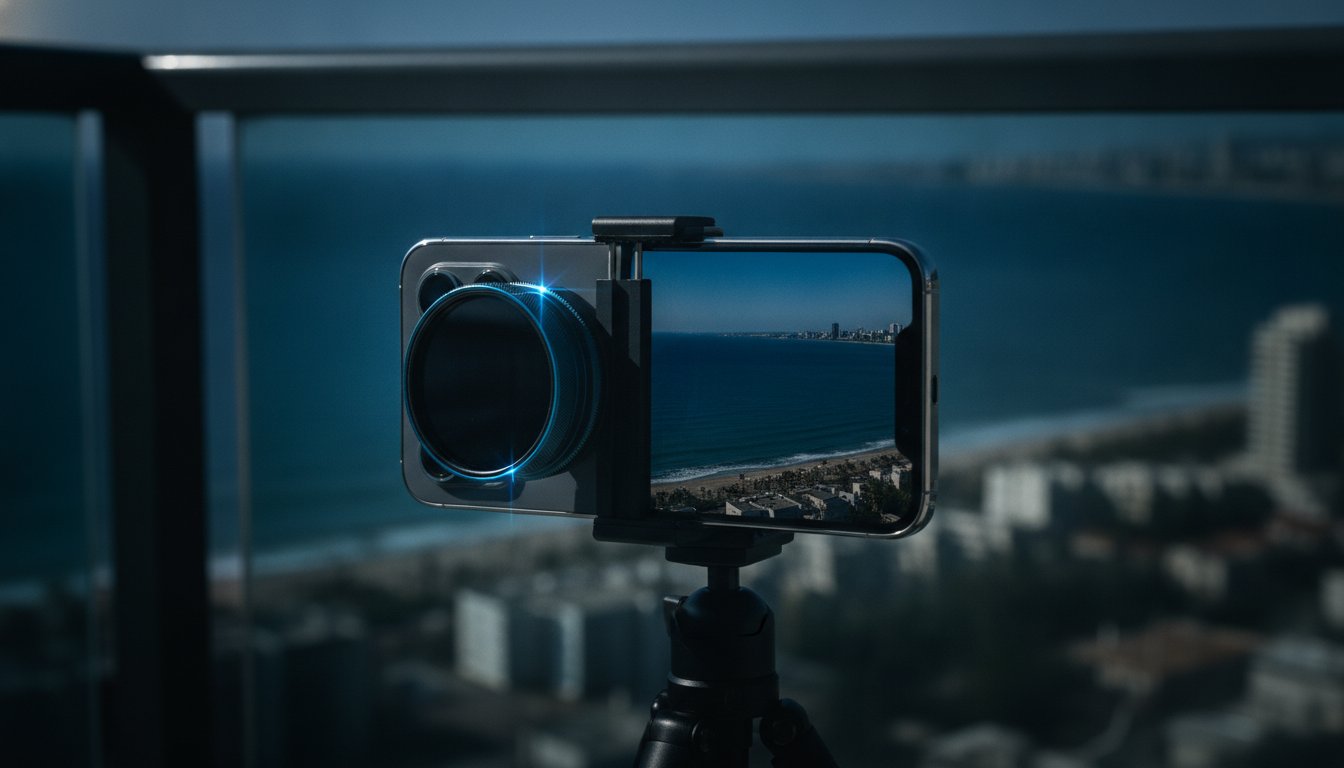
Advanced creators often need to combine multiple optical effects for a specific look. You might want to add a mobile video light control filter to your 10X Macro Lens to capture detailed close-ups in bright outdoor light. When you start stacking glass, vignetting becomes a primary concern. This is the appearance of dark, shadowed corners in your frame caused by the filter rings blocking the lens’s field of view. To solve this, use larger 67mm filters with a step-up ring. This provides ample clearance for the multi-lens arrays found on flagship phones. It is the secret to keeping your frames clean while maintaining total exposure control over every shot.
Step-by-Step: Managing Light in Common Scenarios
Theory is only useful when you put it into practice. To truly master mobile video light control filters, you must know how to react to the environment in real-time. Whether you are battling the intense glare of a Mediterranean beach or capturing the neon glow of a city street, your setup process determines the final quality. Follow these specific workflows to ensure your footage looks professional every time you hit record.
Setting Up for Midday Video
The midday sun in Israel is notoriously difficult to manage. Without an ND32 filter, your phone will default to a shutter speed so fast that your video looks like a series of still photos. Use this three-step process to reclaim your motion blur:
- Lock your ISO: Open your manual camera app and set the ISO to its lowest possible setting. This is usually 25 or 50 on flagship devices. This minimizes digital noise and maximizes dynamic range.
- Set your Shutter: Adjust your shutter speed to double your frame rate. If you shoot at 24fps, set it to 1/48. If you shoot at 60fps, use 1/120. Your image will now look completely white and overexposed.
- Apply the Filter: Add your ND32 filter. If the image is still too bright, swap to a stronger filter or adjust a variable ND until your exposure meter hits zero.
Capturing Water and Glass Reflections
A CPL filter is the only tool that can physically remove glare. This is essential for car commercials, real estate walk-throughs near pools, or shooting through shop windows. It requires a tactile approach to find the perfect polarization angle.
- Find the Angle: Position yourself so the sun is at a 90-degree angle to your subject. This is where polarization is most effective.
- Rotate and Monitor: Slowly turn the CPL filter while looking at your screen. You will see reflections on the water or glass surface vanish and then reappear. Stop when the subject is perfectly clear.
- Fine-tune: CPL filters typically cause 1 to 2 stops of light loss. Re-adjust your ISO or shutter speed slightly to ensure your shadows haven’t become too dark.
Matching Action Cameras and Neon Styling
Consistency is the hallmark of a serious creator. If you are mixing phone footage with a helmet cam, match your mobile video light control filters to your GoPro HERO 12 ND filters. Using the same ND strength across both devices ensures the motion blur looks identical in the final edit. For night scenes, swap your ND for a Star Filter. This turns streetlights and neon signs into cinematic light points, adding a stylized flare that software cannot replicate. Ready to upgrade your kit? Explore our professional mobile filter collections to find the perfect glass for your next shoot.
Building Your Pro Mobile Light Control Kit with LensLab
LensLab has established itself as the premier destination for Israeli creators who refuse to compromise on quality. We don’t just sell gear; we curate professional tools that bridge the gap between hobbyist clips and cinematic storytelling. Every product in our catalog is selected for its technical reliability and ease of use. Whether you are shooting in vibrant urban environments or across diverse natural landscapes, our fast shipping ensures your production never grinds to a halt. As an authorized seller of JJC, we provide the authentic hardware you need to master mobile video light control filters.
The Beginner Creator Bundle
Begin your journey with a focused kit that handles the most common lighting challenges. Most shooting conditions can be mastered with a simple combination of a CPL and a basic ND8 filter. This duo allows you to cut glare and manage exposure during the vibrant hours of late afternoon. Maintenance is equally important for preserving your image quality. Always keep a bottle of Lens Cleaning Spray in your bag to ensure your glass remains free of smudges and dust.
The JJC Magnetic Lens Filter Mount Adapter for iPhone is the first upgrade any serious beginner should buy. It removes the friction of traditional screw-on systems. You simply snap your filter into place and start filming. This speed allows you to stay focused on the creative moment rather than the mechanics of your rig. It is the ultimate tool for creators who value efficiency and professional results.
The Pro Filmmaker Setup
Integration is the secret to a professional mobile workflow. A pro-level rig often features the PRO 1.55X BLUE ANAMORPHIC LENS FOR SMARTPHONE paired with high-density mobile video light control filters. This combination delivers a wide aspect ratio and signature blue flares while maintaining perfect motion blur. Consistency across devices is vital for a high-end edit. Many creators use GoPro HERO 13 accessories alongside their phone to capture high-energy B-roll.
Our 4-Pack ND Filter Set for GoPro HERO 12 / 11 / 10 / 9 is a versatile crossover tool for these multi-camera workflows. It allows you to match the exposure settings of your action cam to your primary smartphone lens. This creates a unified visual style that feels intentional and polished. LensLab acts as your creative partner, providing the expertise and tools to make professional-grade output a matter of having the right gear. Take your production to the next level with a kit designed for the modern innovator.
Elevate Your Vision with Precision Glass
You now have the technical blueprint to stop settling for “good enough” mobile footage. By mastering mobile video light control filters, you have bypassed the clinical, digital look of standard smartphone processing. You’ve learned that physical glass is the only way to achieve the 180-degree shutter rule and preserve the rich details in your highlights. Whether you are using a CPL to cut through glare or an ND32 to crush the midday sun, you are now filming with the intent of a professional cinematographer.
Success in the field comes down to having reliable tools that don’t slow you down. As an authorized distributor of top mobile optics brands, LensLab provides gear that is tested by leading vloggers and influencers. We ensure your creative momentum stays high with fast worldwide shipping directly from Israel. It is time to stop fighting your sensor and start working with it. Upgrade your mobile rig with pro-grade light control filters at LensLab and see the difference that precision optics make. Your best work is just one filter away.
Frequently Asked Questions
Do I really need ND filters if I use an app like Filmic Pro?
Yes, because apps can only control the sensor’s software settings, not the physical light entering the lens. Even with manual control in Filmic Pro, you can’t lower the shutter speed in bright light without overexposing your shot. Physical mobile video light control filters provide the darkening needed to hit that 180-degree shutter target while keeping your image balanced. It is a hardware solution to a physics problem that software cannot solve.
Can I use DSLR filters on my smartphone?
You can use your existing professional glass if you have the correct step-up or step-down rings. Most mobile mounting systems, like those from JJC, support 52mm or 67mm threads. If your DSLR filters are larger, such as 77mm, simply attach a 67-77mm adapter ring. This is an excellent way to leverage your existing investment in high-end optics for your mobile production workflow without buying duplicate gear. If you want to compare the full range of compatible options, our guide to mobile photography filters and 2026 hardware provides a comprehensive side-by-side analysis.
What is the difference between a Fixed ND and a Variable ND filter?
A Fixed ND has one set level of light reduction, while a Variable ND (VND) allows you to rotate the glass to change the strength. VNDs offer incredible speed and convenience for run-and-gun creators who face changing light. Fixed filters are often preferred for high-end work because they eliminate the risk of the “X-pattern” cross-polarization. This artifact can sometimes appear on cheaper variable glass when pushed to its maximum density.
Will a magnetic filter mount fall off while I am moving?
High-quality magnetic mounts are designed to stay secure during standard movement and handheld vlogging. Systems like the JJC Magnetic Mount use strong rare-earth magnets that lock the filter in place against the phone body. They are very reliable for walking and active shooting. However, we recommend using a threaded mount for high-impact action sports or when mounting your phone to the outside of a moving vehicle to ensure maximum safety.
How do I know what size filter mount I need for my iPhone or Android?
Most modern mobile filter systems use a 67mm standard to ensure they cover all the lenses on a multi-camera flagship device. You should check the specifications of your specific mounting adapter rather than the phone itself. If you use a clip-on system, it usually comes with a 37mm or 52mm thread. For the best future-proofing, stick with 67mm glass as it works with almost any professional adapter on the market.
Do light control filters affect the autofocus of my phone?
High-quality glass filters do not interfere with your phone’s Phase Detection or LiDAR autofocus systems. Because the glass is optically clear and sits flush against the lens, the camera sees through it without any confusion. However, if your filter is extremely dirty or smudged, the camera might struggle to find a point of contrast. Keep your mobile video light control filters clean to ensure your focus stays sharp and responsive during every take.
How do I clean my filters without scratching the glass?
Always use a dedicated lens cleaning spray and a clean microfiber cloth. Start by blowing away any loose dust or sand with a specialized air blower to prevent grinding particles into the coating. Apply a small amount of spray to the cloth, not the filter itself, and wipe in a gentle circular motion. Proper maintenance ensures your optics remain crystal clear and last for years of intense digital content creation.
Is a CPL filter useful for night videography?
CPL filters are generally not recommended for night shoots because they block 1 to 2 stops of light. At night, your sensor is already struggling to find enough light to produce a clean image. Adding a CPL will force your ISO to spike, causing heavy digital noise and grain. Unless you are specifically trying to remove a very bright reflection from a neon sign on a wet street, it’s better to stick with clear glass.