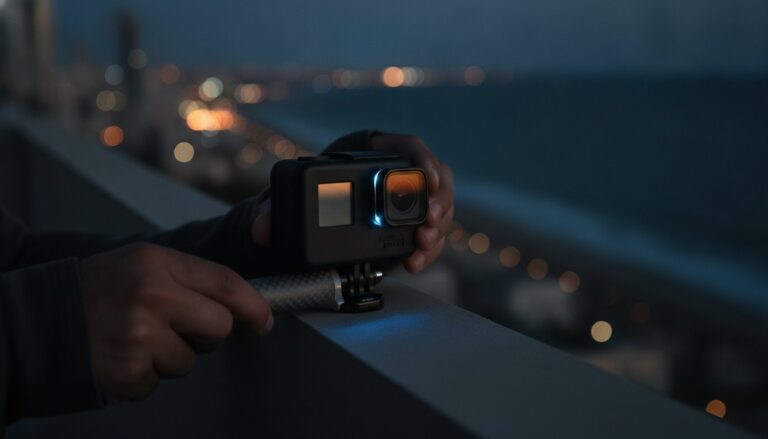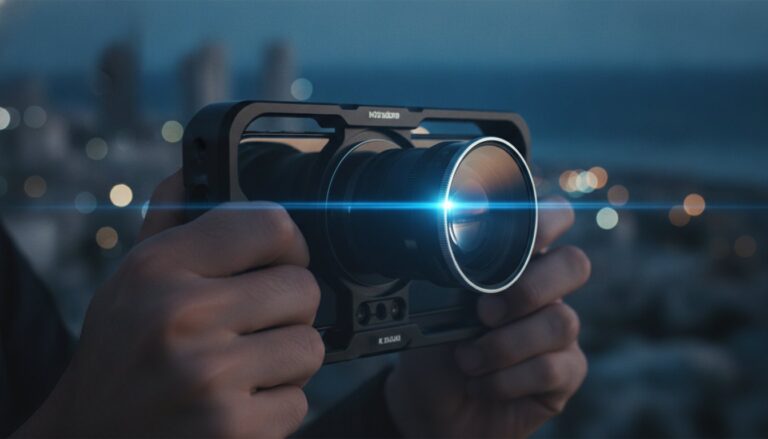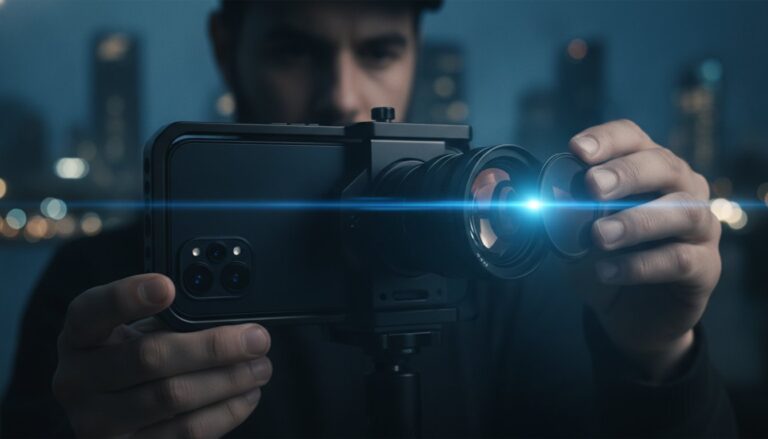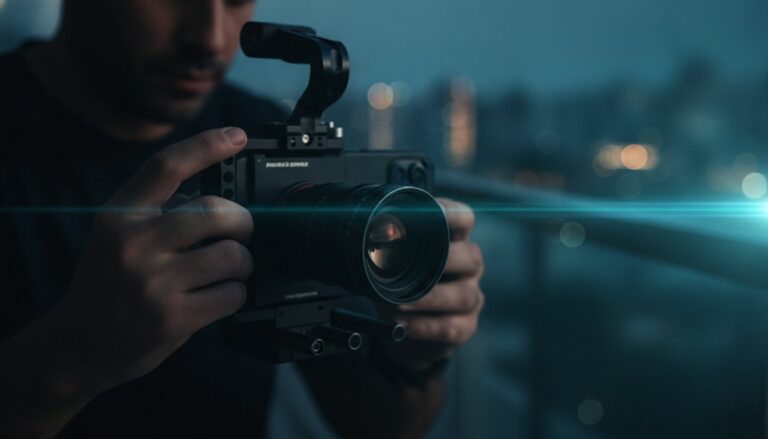
How to Get Cinematic Flares on Phone: The 2026 Creator’s Guide
Most creators think that million-shekel Hollywood lighting is the only way to get those iconic blue streaks across the screen. The truth is that your smartphone is already capable of blockbuster visuals. You’re just missing the right glass. You’ve probably tried those cheap software overlays that look like a blurry mess. Or maybe you’ve spent hours trying to angle your phone toward the sun only to end up with a distracting lens smudge. It’s frustrating when your creative vision doesn’t match the results on your screen.
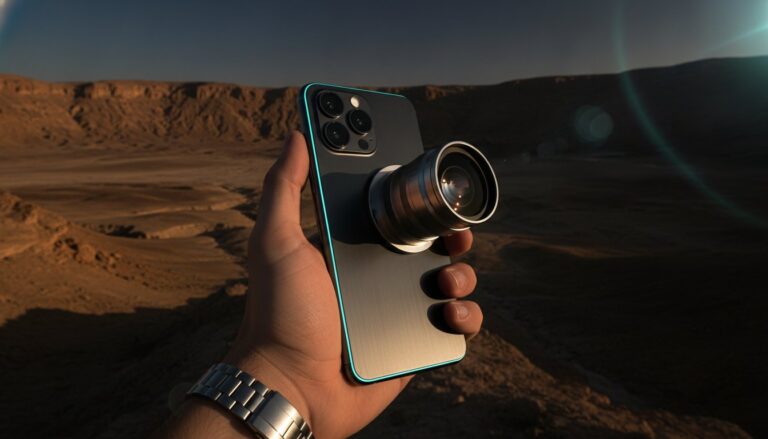
Learning how to get cinematic flares on phone shouldn’t feel like a technical chore. You deserve tools that work as hard as your imagination does. This guide will show you how to capture authentic, high-impact anamorphic flares that make your TikToks and Instagram Reels look like they were shot on a professional set. We’ll explore why physical hardware beats software filters every time. You will learn the exact positioning techniques and pro-level gear, such as the PRO 1.55X Blue Anamorphic Lens, needed to transform your mobile footage into a cinematic masterpiece. Let’s stop settling for “good enough” and start creating visuals that demand attention.
Key Takeaways
- Stop relying on cheap software filters that look fake. Real anamorphic glass captures the organic light physics you need for a professional look.
- Master the exact positioning techniques to understand how to get cinematic flares on phone using everything from the sun to urban streetlights.
- Transform your smartphone into a cinema camera with the PRO 1.55X Blue Anamorphic Lens for that signature horizontal blue streak.
- Follow a simple four-step workflow to ensure your flares are sharp and intentional every time you hit record.
- Learn how to correctly de-squeeze your footage in post-production to maintain the high-end 2.4:1 aspect ratio without losing quality.
What are Lens Flares and Why Do They Look Cinematic?
A lens flare is more than just a technical glitch. It’s the visual result of light scattering inside your lens system as rays bounce off internal glass elements. While old-school photographers once tried to avoid them, modern creators use them to add “soul” and texture to digital footage. Digital sensors can often feel too clinical or sharp. Adding a flare breaks that perfection. It introduces a human element that makes the viewer feel the heat of the sun or the buzz of a city street.
Understanding how to get cinematic flares on phone starts with recognizing that not all light is equal. High-end Hollywood productions rely on “anamorphic flares.” These are the long, horizontal blue streaks you see in sci-fi blockbusters or high-budget dramas. They signal quality. They tell the audience that they are watching something professional. By mastering this effect, you elevate your production value from a simple mobile clip to a polished piece of visual storytelling.
The Difference Between “Bad” Flare and Artistic Flare
Control is the line between a masterpiece and a mess. Many beginners confuse a smudged lens for a cinematic effect. If your lens is covered in finger oils, the light will look foggy and washed out. This “bad” flare kills your contrast and makes your video look cheap. It creates a hazy film over your subject that is impossible to fix in post-production.
Another common issue is “ghosting.” This happens when a distracting, green or yellow duplicate of your light source floats across the frame. It’s a technical error, not an artistic choice. An artistic flare is intentional. It should be a sharp, controlled streak or a soft, warm glow that guides the viewer’s eye. You want the light to dance with your subject, not drown it out in a muddy haze.
Why Your Phone Struggles with Flares Out of the Box
Your smartphone is actually working against you. Manufacturers like Apple and Samsung spend millions on lens coatings designed to suppress flares. They want your photos to be “clean” and “true to life.” For a filmmaker, this is a hurdle. These coatings are meant to eliminate the very artifacts that give cinema its character.
Standard phone optics are spherical. This means that if you do manage to catch a flare, it usually appears as a series of boring circles or “beads.” Small mobile sensors also lack the physical depth to create the organic light artifacts found in large cinema cameras. To learn how to get cinematic flares on phone that actually look like movies, you need to bypass these built-in limitations with specialized hardware that mimics the physics of professional lenses.
The Secret to Pro Flares: Using an Anamorphic Lens
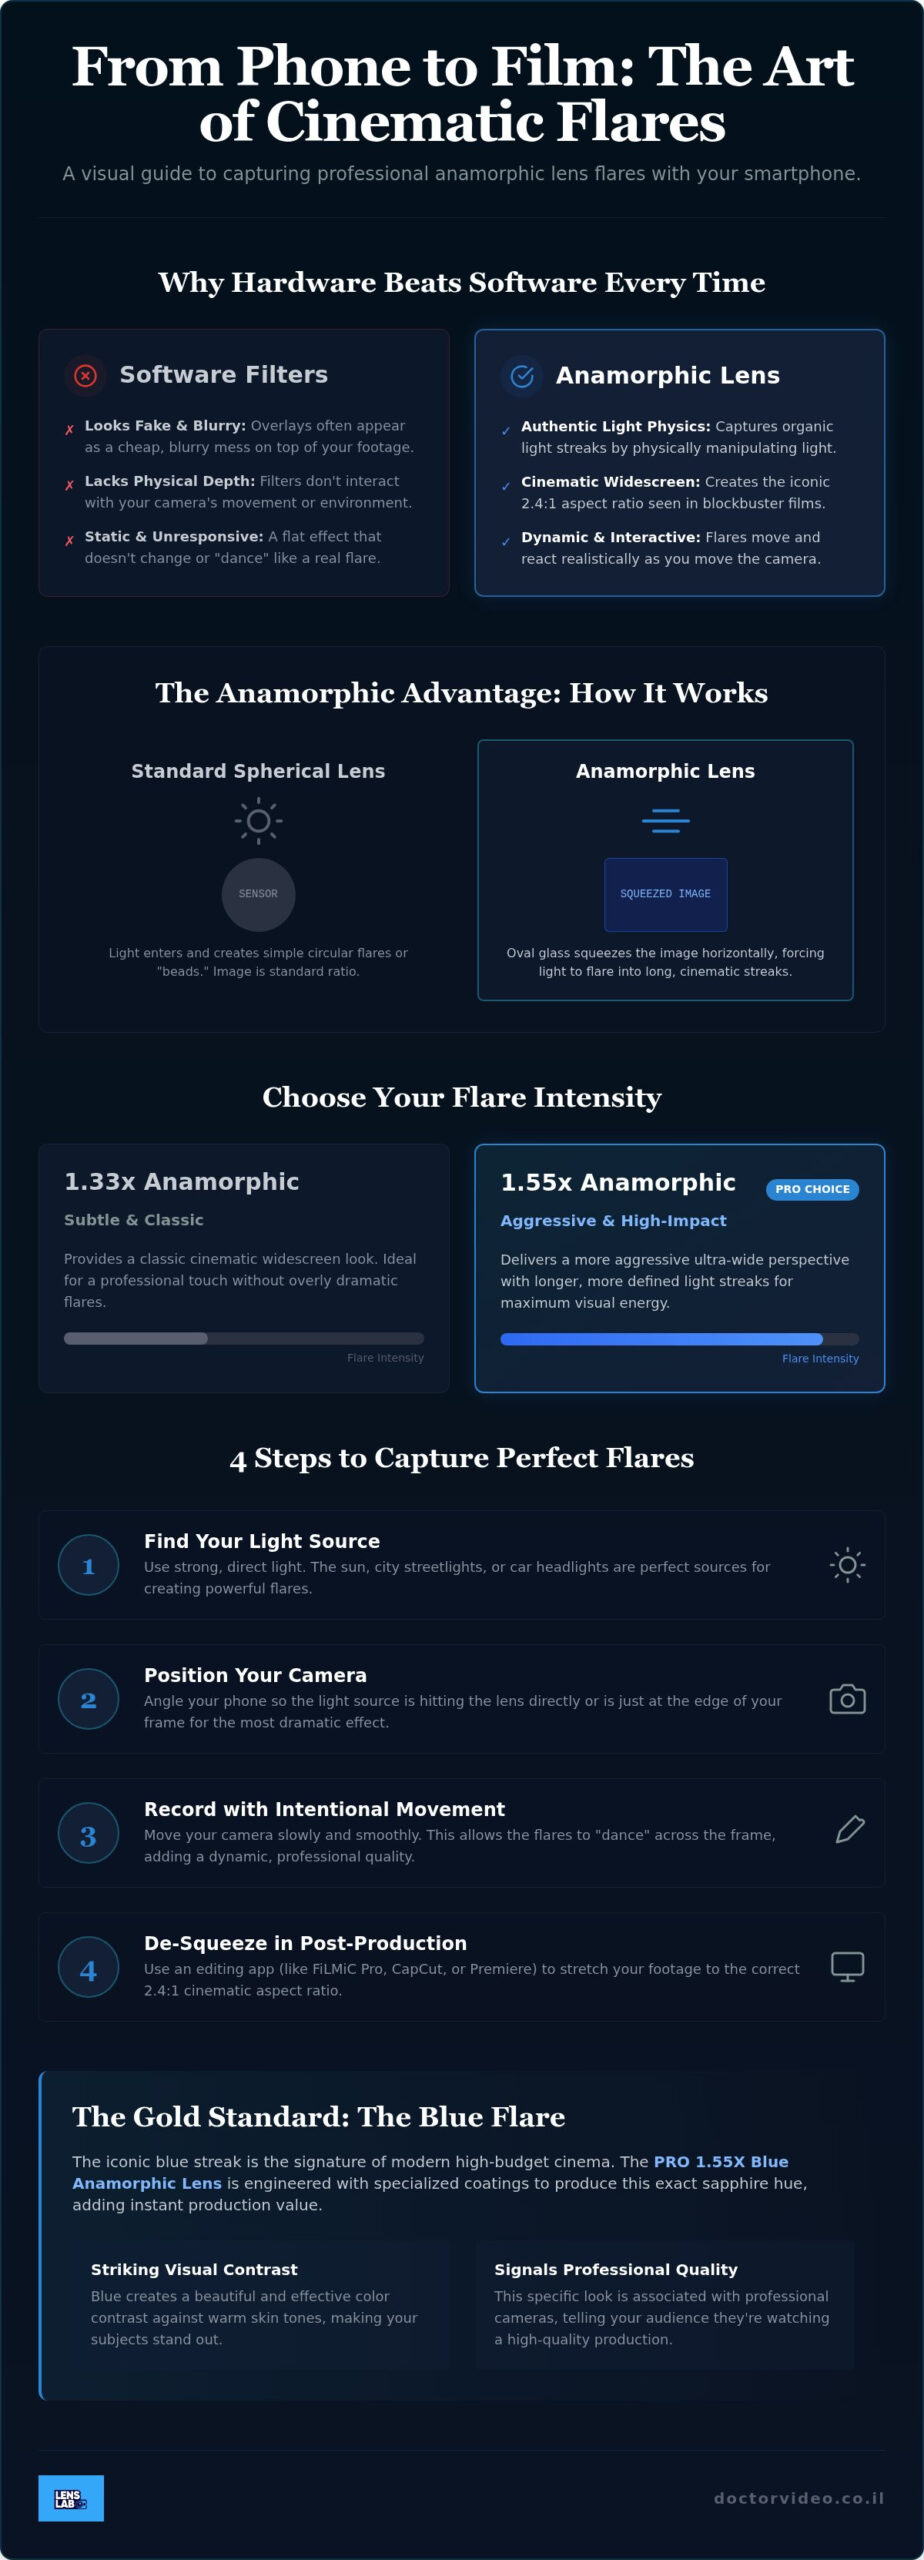
You can’t fake physics. If you want to know how to get cinematic flares on phone that look authentic, you need an anamorphic lens. It is the undisputed “holy grail” of mobile filmmaking gear. While standard phone lenses capture light in simple circles, anamorphic glass uses an oval design to “squeeze” a massive field of view onto your phone’s sensor. This process gives your footage that iconic 2.4:1 widescreen look. The real secret, however, lies in how the glass handles light.
When light hits an anamorphic lens, the vertical compression forces the light to scatter horizontally. This creates the sharp, elegant streaks that define modern cinema. These aren’t just flat overlays. These hardware flares interact with your environment in real-time. They glint off car windows and dance across the frame as you move your camera. You get a level of depth and realism that no software filter can ever replicate. It’s the difference between a cheap sticker and a real diamond.
1.33x vs. 1.55x: Choosing Your Flare Intensity
Not every project needs the same level of drama. A 1.33x anamorphic lens provides a subtle, classic cinematic wideness. It is ideal for creators who want a professional look without drawing too much attention to the gear itself. If you want to maximize your impact, the 1.55x ratio is the clear winner. This lens offers a more aggressive ultra-wide perspective. Because the compression is higher, the light streaks are longer and more defined. It is the ultimate way to master how to get cinematic flares on phone with high visual energy.
Why Blue Streaks are the Gold Standard for Mobile Cinema
Blue flares have become the signature of modern sci-fi and action cinema. Directors use this specific color because it creates a striking contrast against warm skin tones. This makes your characters stand out from the background. Specialized coatings on the PRO 1.55X BLUE ANAMORPHIC LENS FOR SMARTPHONE are engineered to produce this exact sapphire hue. It adds a layer of technical sophistication to your footage. It isn’t just about the flare. It is about creating a professional color palette that resonates with your audience instantly. This simple addition elevates your production value and makes your content feel like a high-budget production.
4 Practical Steps to Capture Perfect Flares Every Time
Capturing a professional flare isn’t an accident. It is a deliberate process. Once you have your anamorphic gear ready, you need to follow a specific workflow to ensure every shot looks like a movie frame. Stop guessing and start shooting with purpose. Mastery comes from consistency. Follow these four steps to learn how to get cinematic flares on phone with precision.
- Identify your light source: Look for high-contrast points of light. The sun, urban streetlights, or even a desk lamp can work. The brighter the source, the more intense your flare will be.
- Clean your glass: Smudges are the enemy of cinematic clarity. Before you record, use a smartphone lens cleaning kit to remove oils and dust. Sharp streaks require perfectly clear glass.
- Frame the light: Don’t place the light directly in the center. Position it just at the edge of your frame. This allows the rays to hit the internal elements of the lens at an angle, triggering the horizontal streak.
- Lock your settings: Phones love to “hunt” for focus and exposure in bright light. Tap and hold your subject on the screen to lock your focus and exposure (AE/AF Lock). This prevents the camera from flickering during your shot.
Mastering Light Source Positioning
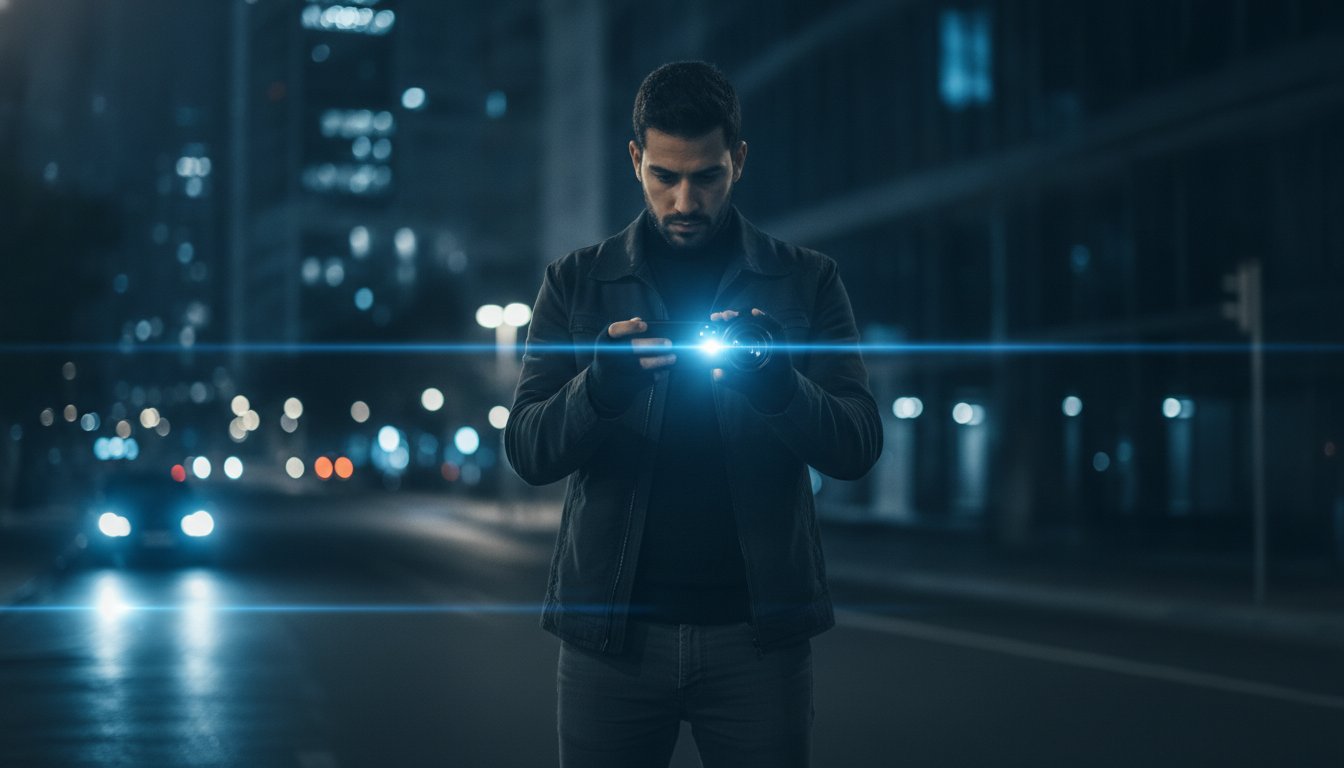
Positioning is everything. Use the “Off-Axis” technique by angling your phone slightly away from the light source. This creates a more organic, dancing flare that moves as you pan the camera. For the best results, shoot during the “Golden Hour.” The low angle of the sun provides a soft, warm glow that is naturally more cinematic. If you are shooting at night, look for car headlights. These moving light sources create dynamic, high-energy streaks that are perfect for urban vlogs or music videos. Experimenting with these angles is the fastest way to understand how to get cinematic flares on phone in any environment.
Controlling Exposure to Make Flares Pop
Flares look best when they contrast against a darker background. Once you have locked your exposure, slide the brightness icon down on your screen. This “underexposure” makes the light streaks appear more vibrant and saturated. For total control, use a manual camera app to keep your ISO and shutter speed consistent. This prevents the phone’s software from trying to “fix” the bright light. Exposure compensation is the manual adjustment of brightness to ensure your light streaks remain the sharp, vivid focal point of the shot. It’s a simple tweak that separates amateur clips from professional cinema.
Enhancing and Refining Flares in Post-Production
Post-production is your final polish. It shouldn’t be a rescue mission. If you’ve followed the steps on how to get cinematic flares on phone using real glass, your base footage is already ahead of the curve. Now, you just need to refine it. Digital editing should enhance your hardware flares, not replace them. The goal is to make the light feel integrated into the scene rather than sitting on top of it.
First, handle the de-squeeze. Anamorphic footage looks tall and skinny until you stretch it back to its 2.4:1 glory. Most pro-level mobile apps do this with one click. If you’re an Android user, finding the right software is key. Check out this guide on using an anamorphic lens for android to find compatible apps that handle the de-squeeze process automatically. This step is non-negotiable for maintaining the correct aspect ratio and flare geometry.
Next, unify your colors. If you used the PRO 1.55X Blue Anamorphic Lens, your flares will have a stunning sapphire tint. Use color wheels to match the shadows and midtones to this cool palette. This makes the flare feel like a natural part of the environment. It creates a professional color story that resonates with your audience instantly.
Using Mobile Apps to Boost Natural Hardware Flares
Boost the “Bloom” or “Glow” settings slightly in your editor. This makes the edges of your light streaks feel more ethereal and dreamlike. Don’t overdo it. You only want enough to let the light bleed into the surrounding pixels naturally. Use contrast sliders to deepen your blacks. Darker backgrounds make your flares pop with more intensity. CapCut and LumaFusion are excellent for quick, high-impact edits. For pro-level control, DaVinci Resolve Mobile offers the best color tools available for creators today.
Avoiding Over-Processed “Fake” Flare Looks
Less is always more. Stacking digital flare filters over real hardware flares is a common mistake. It creates a messy, unprofessional image. This “over-processing” kills the organic feel of your footage. If you must add a digital element, keep the opacity extremely low. Real flares have organic movement. They react to the camera’s micro-jitters. If your flare stays static while the camera moves, the illusion is broken. Keep your edits subtle. Respect the physics of the light you captured on set.
Ready to capture the real thing? Upgrade your kit with the PRO 1.55X Blue Anamorphic Lens and start shooting cinematic content that stands out.
Build Your Pro Mobile Cinema Kit with LensLab
You’ve mastered the technique. Now you need the tools. High-level creativity requires gear that can keep up with your vision. Professional results aren’t about luck. They’re about having the right optics to manipulate light. Building a kit is the final step in learning how to get cinematic flares on phone that rival big-budget productions. Pro gear removes the technical ceiling. It lets you focus on storytelling while the hardware handles the physics. Stop fighting with limited phone sensors and start using glass designed for cinema.
Why the PRO 1.55X Blue Anamorphic Lens is a Game Changer
This isn’t just an attachment. It’s a precision instrument. The PRO 1.55X BLUE ANAMORPHIC LENS FOR SMARTPHONE uses premium multi-coated glass to guarantee sharp, horizontal blue flares every time. Its universal clip-on system means you don’t need a specific case to get started. It works with almost any smartphone on the market. Beyond the flares, you get a massive 2.8:1 “Ultra-Widescreen” aspect ratio. This is the exact look that defines modern movie theater experiences. It transforms your mobile screen into a cinematic canvas, providing more room for your subject and your light streaks to breathe.
Essential Accessories for Flare Control
Great flares need a balanced environment. If your scene is too bright, your light streaks will wash out. Use the JJC Magnetic Lens Filter Mount Adapter for iPhone to add ND filters. This allows you to maintain a cinematic shutter speed in bright sunlight, keeping your motion blur natural. For even more creative flair, consider adding a star filter for smartphones to your gear bag. This creates multi-point light bursts that add a magical, high-end quality to city lights or night shoots. It turns every point of light into a deliberate artistic statement.
Consistency is the hallmark of a serious creator. A steady grip or tripod is necessary for clean, sweeping flare shots. If your phone shakes, your flares will look jagged and amateur. Stability allows the light to glide across the lens with grace. For those ready for a full-scale upgrade, the iPhone filmmaking kit provides a complete production setup in one package. It includes everything you need to stabilize, light, and capture your next project. This is how to get cinematic flares on phone without the DSLR price tag. Take control of your visuals. Elevate your production value. Start creating the content you’ve always envisioned.
Take Control of Your Creative Vision
Professional storytelling is no longer reserved for those with massive studio budgets. You now have the roadmap for how to get cinematic flares on phone that look and feel authentic. By choosing the right anamorphic hardware over cheap software filters, you are prioritizing the organic light physics that define true cinema. You’ve learned how to clean your glass, position your light sources, and refine your footage in post-production for a polished, high-end result.
Creators in over 20 countries are already using our gear to transform their social media presence and professional portfolios. The PRO 1.55X BLUE ANAMORPHIC LENS FOR SMARTPHONE is your gateway to those iconic sapphire streaks and an ultra-widescreen perspective. We provide 24/7 Creator Support to help you master every shot and ensure your production value stays at the top of the game. Don’t let your phone’s standard settings limit your imagination any longer.
Upgrade your mobile cinema kit with LensLab’s Anamorphic Lenses today! The technical barriers have been removed. Your audience is waiting for something extraordinary. It’s time to stop recording and start filmmaking.
Frequently Asked Questions
Is lens flare good or bad in mobile videography?
It depends entirely on your creative intent. Intentional flares add cinematic texture and “soul” to digital footage that often feels too clinical. Unintentional glare from a dirty lens is “bad” because it reduces contrast and makes the image look foggy. Mastering how to get cinematic flares on phone is about taking control of these light artifacts to serve your visual story.
Do I need a special app to use an anamorphic lens for flares?
Yes, you need an app that supports “de-squeezing” to correct the image. Anamorphic lenses capture a distorted, tall image to fit a wider field of view onto your sensor. Apps like Filmic Pro or LumaFusion stretch this footage back to the correct widescreen aspect ratio. Without this step, your cinematic flares and subjects will look unnaturally squashed and narrow.
Can I get horizontal blue flares without a special lens?
You can use software filters, but they usually lack the organic movement of real glass. Digital overlays often look static and “fake” because they don’t react to camera micro-jitters in real-time. To get the authentic Hollywood look, you need the physical optics of an anamorphic lens. The glass actually bends the light rays horizontally to create a deep, reactive streak.
Will an anamorphic lens work on my Android phone?
Absolutely. Most professional mobile lenses use a universal clip-on system that fits various Android models. Whether you use a Samsung, Pixel, or Xiaomi, the lens mounts directly over your existing camera. Just ensure your phone is compatible with a manual camera app. This allows you to handle the de-squeeze process and keep your exposure settings consistent while filming.
How do I stop my phone camera from making “ugly” flares?
Clean your lens frequently to remove finger oils and dust. Most “ugly” flares are actually just light hitting smudges on the glass, which creates a messy, foggy glow. Use a dedicated lens cleaning spray and a microfiber cloth before every shoot. Also, avoid pointing your camera directly at harsh, overhead lights unless you are intentionally using a specialized lens for a controlled effect.
What is the best time of day to capture cinematic flares?
Golden Hour is the prime time for capturing stunning light streaks. This occurs shortly after sunrise or before sunset when the sun is low in the sky. This low angle makes it much easier to understand how to get cinematic flares on phone because the light hits the lens elements directly. Nighttime is also an excellent choice for turning sharp streetlights into sapphire streaks.
Does the PRO 1.55X lens affect the photo quality of my phone?
It enhances your photos by providing a wider field of view and unique light artifacts. The high-quality multi-coated glass ensures that your images remain sharp and professional. While it changes the perspective and adds flares, it doesn’t degrade your sensor’s resolution. It is an artistic tool designed to elevate your standard mobile shots into cinematic stills with a true movie theater feel.