Lip and Brow Close-Ups: Macro Content for Beauty Artists
A macro lens for makeup artists turns ordinary portfolio shots into detail images clients can’t stop looking at: crisp lip lines, blended ombré lips, individual brow strokes and the finish of a gloss or matte formula. Use moderate magnification so you can frame the whole lip or brow, soft light from the front or slightly to the side, locked white balance for true shades, and no beauty filters, so the work you post is exactly the work clients get.
Why macro matters for beauty work
The difference between a good lip and a perfect lip is millimeters: a sharp cupid’s bow, a seamless liner blend, a clean edge with no feathering. Phone main cameras can’t focus close enough to fill the frame with a lip, so artists crop wide shots and lose detail. A macro lens lets the phone focus closer, so the lip or brow fills the frame at full resolution.
Two lens styles suit beauty work:
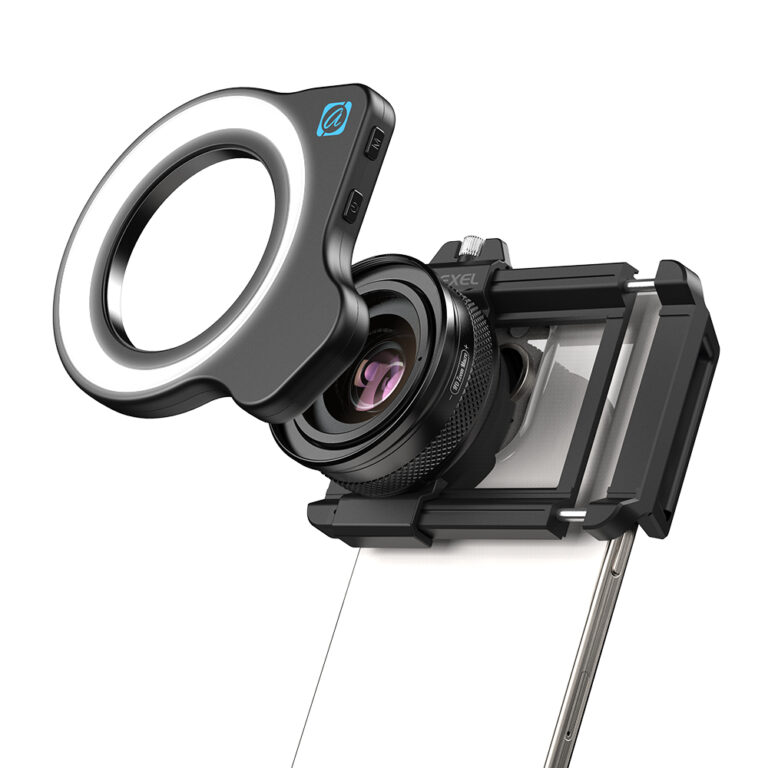
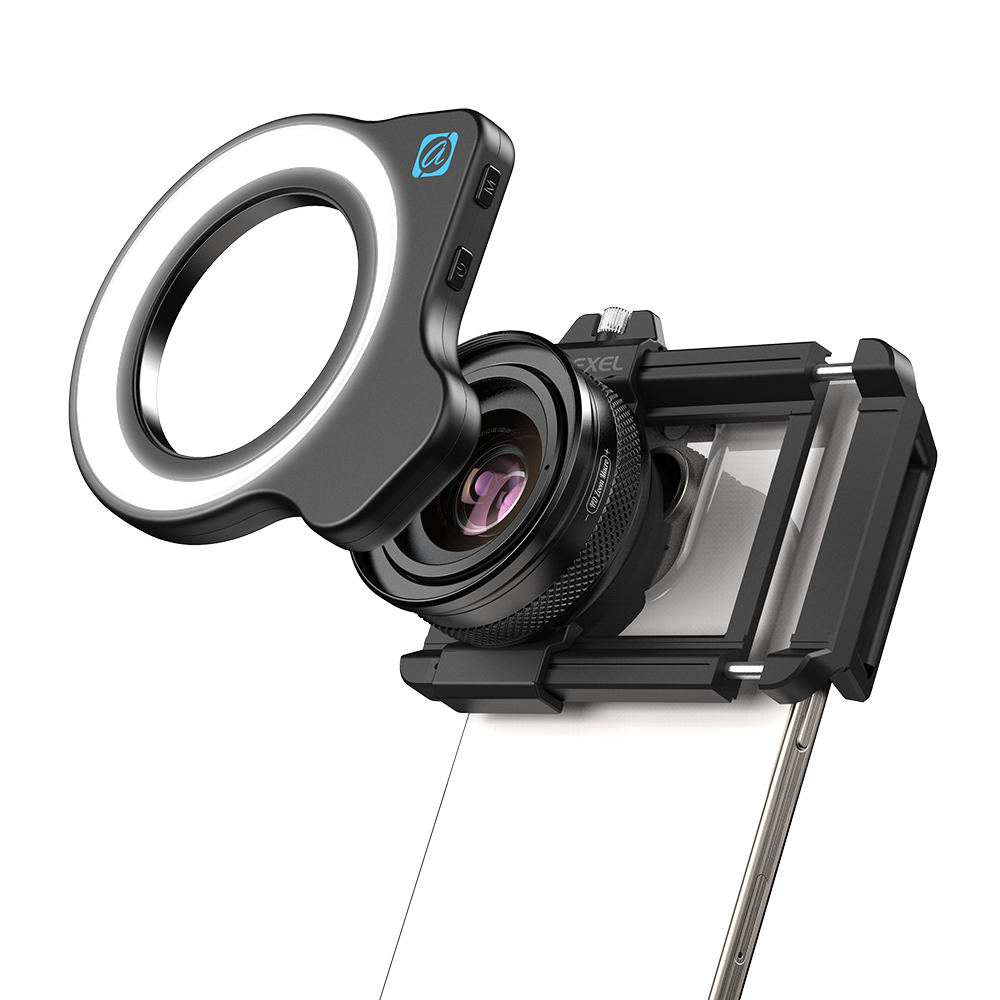
- Lens with built-in light: the Apexel 10x/20x macro lens with built-in LED has a ring light around the lens that gives even fill at close range, useful for quick shots between clients or in dim treatment rooms.
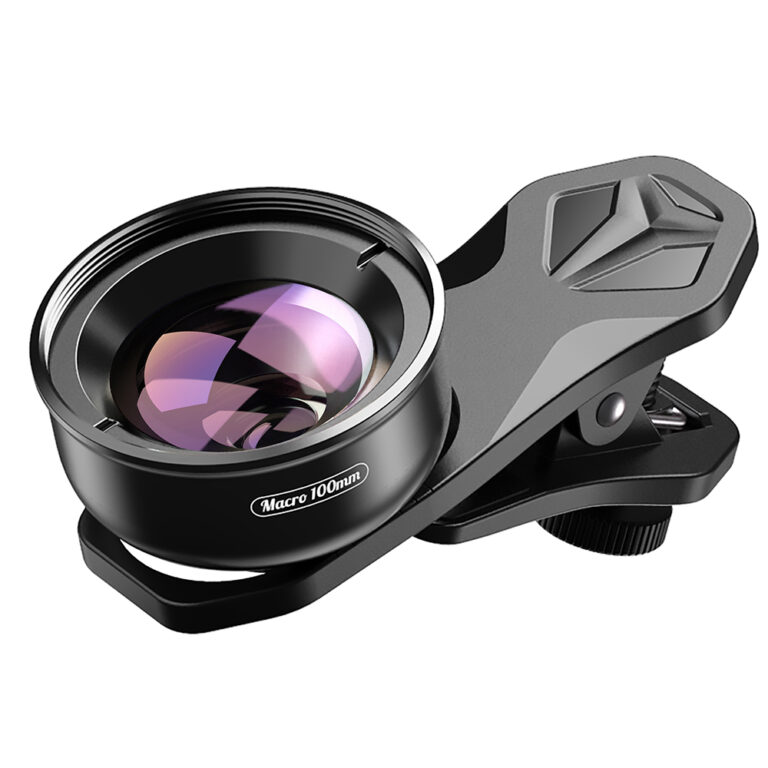
- Longer working distance: the 65mm super macro lens gives more space between the phone and the face. That’s more comfortable for clients and leaves room for your main light to reach the subject.
Lighting that shows texture honestly
For lips
Soft light from the front and slightly above shows color evenly. For gloss, a broad window or softbox creates an attractive, smooth highlight that reads as “shine.” For matte formulas, move the light a little to the side to reveal the velvety finish. Avoid hard direct light, which exaggerates lip lines and dry patches.
For brows
Brows look best with soft light from slightly above and to the side. It shows individual strokes in microblading, lamination direction or tinted hairs. Ask the client to look slightly down to relax the brow area.
Using the built-in LED
Ring lights at macro range give flat, even fill, great for detail but sometimes a little clinical. Combine the LED on a low setting with window light for the best of both.
Avoid mixed lighting
Overhead warm bulbs plus daylight from a window creates color casts that make lipstick shades look wrong. Turn off ceiling lights when shooting by a window, or use daylight-balanced LEDs.
Color accuracy: the most important thing for clients
- Lock white balance. Use a pro camera mode and set a fixed value, or lock it on a white card held in the scene.
- Use the same light every time. Your portfolio looks consistent and shades compare fairly.
- Disable beauty modes and filters. Skin smoothing and AI enhancements alter texture and color. Many audiences and some advertising rules expect beauty results to be shown without misleading edits.
- Swatch reference: photograph the product swatch on the inner arm in the same light so followers can compare.
Step-by-step: shooting a lip close-up
- Finish the look and blot any excess gloss from the outer edges.
- Seat the client facing a window or your key light.
- Clean your phone lens and the macro lens. Our guide on cleaning smartphone lenses covers the safe method.
- Attach the macro to the main camera and lock the phone to 1x.
- Ask the client to relax their lips, slightly parted, and keep still.
- Move the phone slowly toward the lips until the edge of the lip line is sharp. Lock focus.
- Lower exposure slightly so gloss highlights don’t blow out.
- Shoot a burst: straight-on, three-quarter angle, and a profile to show volume.
Step-by-step: shooting brows
- Brush brows into their final shape.
- Light from above and to the side.
- Frame one brow at a time; both brows in one macro frame is rarely possible at high magnification.
- Focus on the hair strokes near the brow’s highest point.
- Shoot a wider “both brows” photo without the macro for symmetry.
Hygiene and client comfort
- Never touch the client’s skin with the lens. Use working distance, not contact.
- Clean lenses between clients with appropriate lens-safe wipes.
- Explain what you’re doing; a phone close to the face can surprise people.
- Ask permission before posting, and respect clients who prefer partial or cropped images.
Content ideas for beauty macro
- Before/after brow lamination close-ups in identical light
- Lip liner blend progression in three frames
- Gloss pour or swatch texture video
- Glitter or shimmer detail with a slow tilt to catch sparkle
- “Product vs result” side-by-side
- Time-lapse of brow mapping and shaping
Building a consistent portfolio
Pick one spot in your studio, one light position and one white balance value, and use them for every client. Mark the chair and light stand positions with tape. When every lip and brow is photographed the same way, your grid looks professional, and potential clients can compare different looks fairly instead of being distracted by changing light.
Editing without misleading
Crop, straighten and correct white balance. Remove stray lint or mascara flecks if you like. But avoid smoothing skin texture or altering lip shape. Clients book you based on what they see; honest images build trust and reduce disappointed appointments.
Quick checklist
- Macro lens on the main camera, phone locked at 1x
- Soft window light or daylight LED, ceiling lights off
- White balance locked; beauty filters off
- Exposure lowered for gloss highlights
- Bursts at multiple angles
- Lens never touching skin; cleaned between clients
- Client permission for posting
- Honest editing only
FAQ
What magnification is best for lips and brows?
Moderate magnification that frames the whole lip or one brow. Very high magnification only shows a small area and makes focus harder.
Is a ring light better than window light?
Window light looks more natural; a ring light is consistent and fast. Many artists combine both.
Why do my lipstick colors look different in photos?
Mixed lighting and auto white balance. Use one light source and lock white balance.
Can I use macro for video tutorials?
Yes, on a tripod. Lock focus and have the client stay still, or film your own application close-up.
Show every perfect line and stroke.
Use the LED macro for fast in-studio shots and the 65mm super macro for comfortable working distance, and build your beauty kit with the Mix & Match – any 3 for $129 bundle. Visit the shop – free worldwide shipping.