How to De-Squeeze Anamorphic Footage in CapCut, VN and LumaFusion
To desqueeze anamorphic footage on a phone, you stretch the clip’s width by your lens’s squeeze factor (1.55x for most phone anamorphics) or, equivalently, squash its height to about 64.5%, then place it in a wide canvas or letterbox it inside 16:9. CapCut, VN and LumaFusion can all do this; the steps differ slightly in each app.
Below you’ll find the math first, because once you understand it, you can de-squeeze in any editor, followed by app-by-app instructions and export settings.
The de-squeeze math in 60 seconds
An anamorphic lens records the scene compressed horizontally. With a 1.55x lens on 16:9 video:
- Stretching width by 155% gives a frame of about 2.76:1.
- Squashing height to 1 ÷ 1.55 ≈ 64.5% gives exactly the same shape while keeping the original width.
The second method is usually better on phones. A 3840 × 2160 clip stretched to 155% width would be about 5952 pixels wide, beyond what most editors export. Squashing to 64.5% height gives about 3840 × 1393, which fits neatly inside a standard 4K frame with black bars above and below.
If you prefer the classic 2.39:1 “scope” look, crop the sides slightly: in a 3840-wide frame, 2.39:1 is about 3840 × 1607 pixels, which you get by scaling the de-squeezed image up a little and letting the sides fall outside the frame.
Before you edit: test your squeeze
Film a circular object, such as a plate, a wheel or a clock, at the start of a shoot. After de-squeezing, it should look perfectly round. If it’s still oval, your scale value is off. This five-second test saves you from discovering stretched faces after a whole day of filming.
How to desqueeze in LumaFusion
LumaFusion is the most flexible of the three for anamorphic work because it lets you control horizontal and vertical scale independently.
- Create a new project and choose a 16:9 project at your resolution and frame rate. Alternatively, pick a wider aspect ratio if your version offers one that matches your target.
- Add your clip to the timeline and open the clip editor.
- Go to Frame & Fit. Some versions include anamorphic presets; if a 1.55x option is listed, select it.
- If not, unlock the proportional scale so X and Y can be set separately, then set the vertical scale to about 64.5% while keeping horizontal at 100%.
- Check your circle test clip. Adjust by a fraction of a percent if needed.
- Copy the attributes and paste them to the rest of your anamorphic clips.
- Optional: add a 2.39:1 letterbox by scaling up slightly and cropping, or add black bars with a title layer.
How to desqueeze in CapCut
CapCut is quick for social edits, but its tools vary between the mobile and desktop versions and change with updates.
CapCut desktop
- Import the clip and drag it to the timeline.
- Select the clip and open the video properties panel.
- Under the transform or scale settings, turn off uniform scale.
- Set height to about 64.5% (or width to 155%, then fit the canvas).
- Set the project ratio to 16:9 for letterboxed output, or choose a wide ratio such as 2.35:1 if available for a frame without bars.
- Apply the same settings to every anamorphic clip.
CapCut mobile
Depending on your version, the mobile app may only offer uniform scaling through pinch gestures, which won’t correct the squeeze. If you don’t see separate width and height controls, de-squeeze in LumaFusion or a desktop editor first, export, then bring the corrected clip into CapCut for captions, music and effects. Don’t simply zoom in on a wide canvas: that crops the image but leaves people looking thin.
How to desqueeze in VN
- Create a project with a 16:9 ratio, or a wider cinema ratio if VN offers one in your version.
- Add the clip, select it and open the transform/crop or canvas tools.
- Look for independent horizontal and vertical scaling, sometimes available through keyframe or transform options. Set the vertical scale to about 64.5%.
- If your version only scales proportionally, use the same workaround as CapCut mobile: de-squeeze elsewhere first.
- Check the circle test clip and apply settings to all clips.
Menu names change between releases, so if a label differs from the steps above, look for anything called transform, scale, size or frame fit.
Preview while shooting
Some pro camera apps can show a de-squeezed preview while recording, so you frame with correct proportions. The recorded file usually stays squeezed, and you still de-squeeze in editing. Even without a preview, you can frame accurately by remembering that the final image will be wider than what you see on the screen.
Export settings
- Resolution: export at the project’s native resolution (4K or 1080p). Letterboxed 16:9 plays correctly everywhere.
- Bitrate: use high bitrate settings; the black bars compress easily, but fine detail in the image doesn’t.
- Frame rate: match your source. Don’t convert 24 fps to 30 fps for a cinematic edit.
- For vertical platforms: a 2.76:1 image inside a 9:16 frame is tiny. Either keep anamorphic for horizontal YouTube-style edits or design a vertical layout with text above and below the widescreen image.
Shooting tips that make editing easier
- Keep the anamorphic lens perfectly level on the phone; a tilted lens creates skew that de-squeezing can’t fix.
- Shoot 4K. You lose vertical resolution when you squash or crop, so start with more.
- Lock exposure so bright flares don’t make the image pump.
- Use consistent settings across clips so one paste of attributes works for the whole project.
Once your clips are corrected, grading and pacing take the footage the rest of the way. Our guide to getting a cinematic look on your phone covers color and movement.
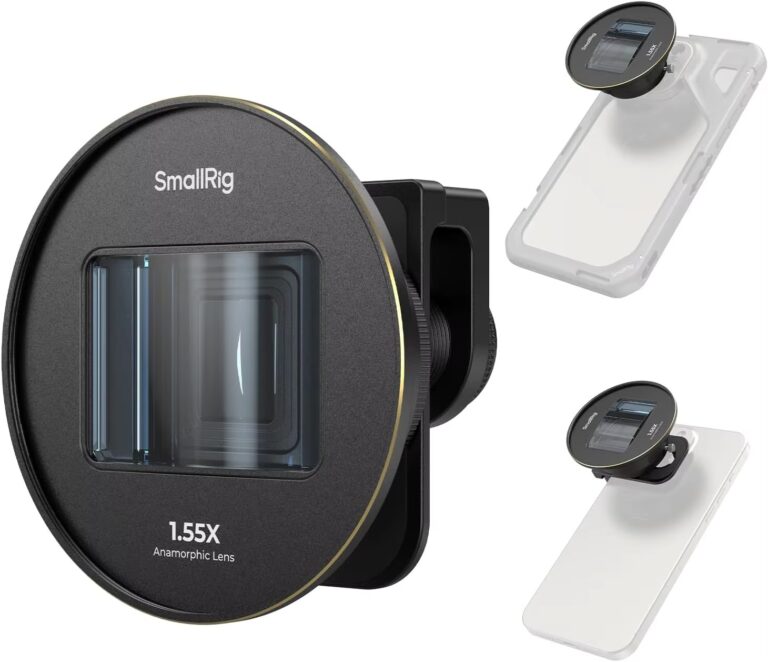
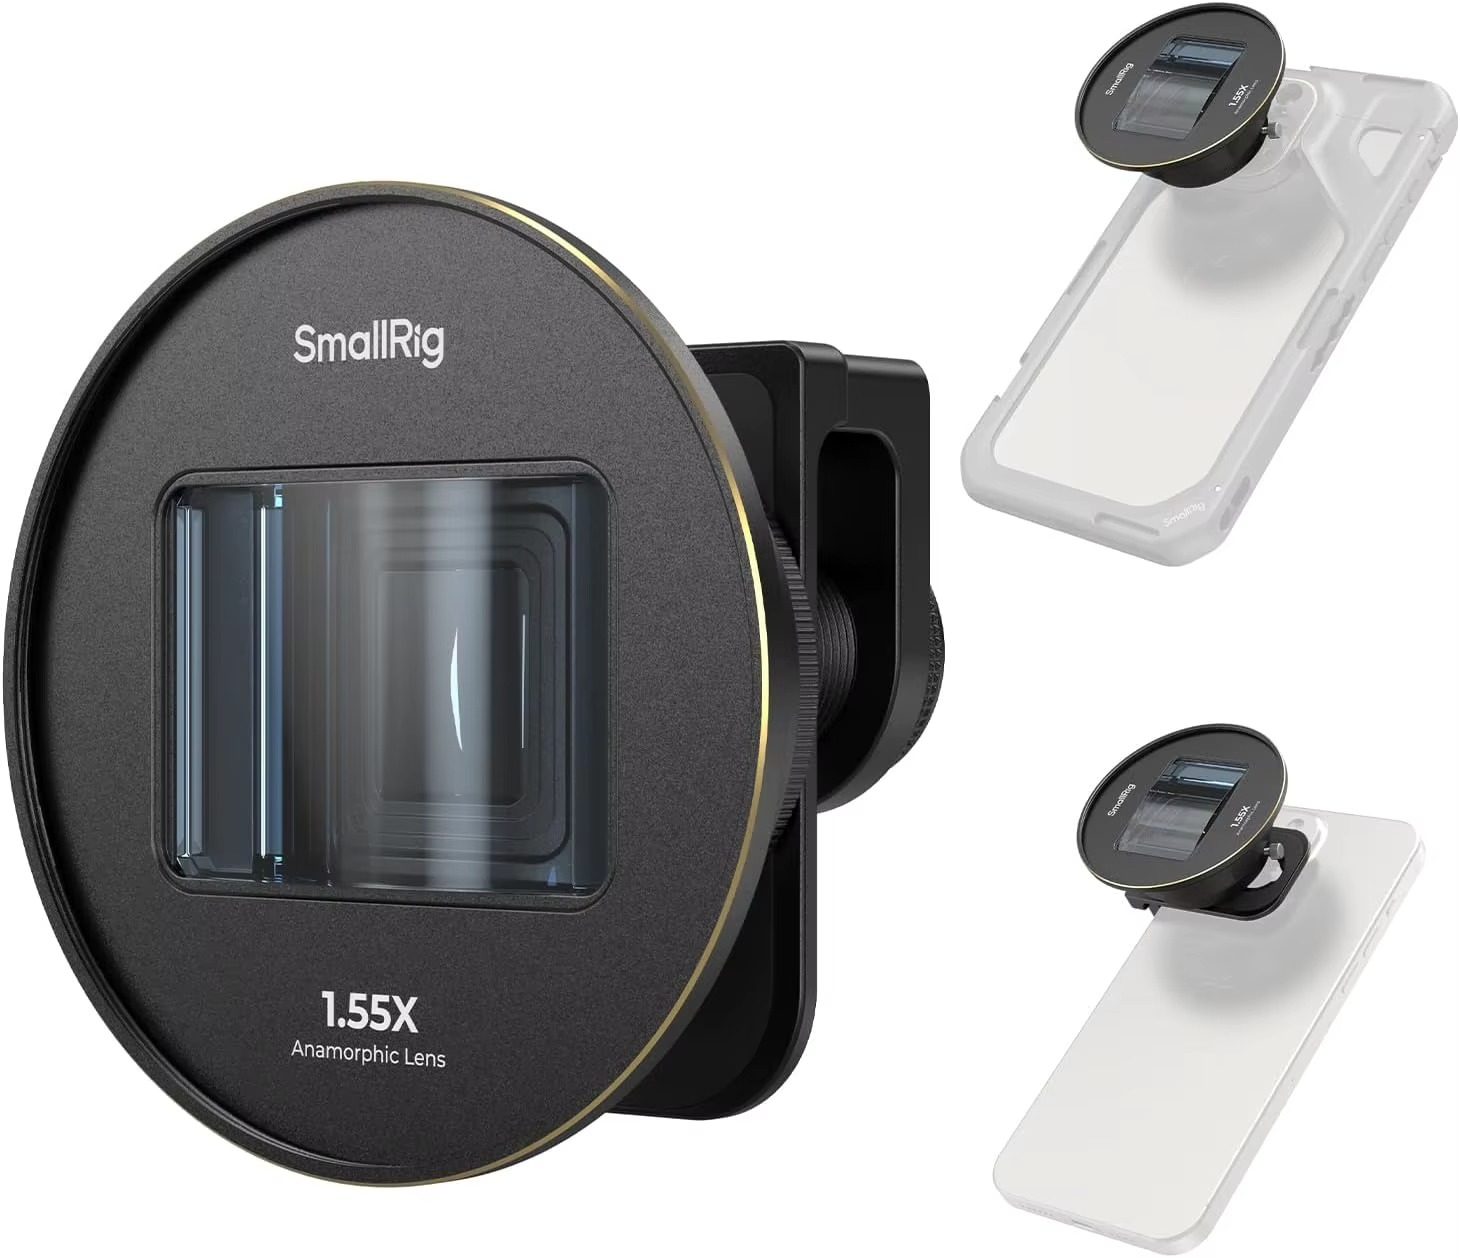
Recommended lenses for this workflow: the Pro 1.55x blue anamorphic lens for strong blue streak flares, or the Ulanzi 17mm 1.55XT anamorphic lens if you already use a 17mm mounting system.
Quick checklist
- Know your squeeze factor (1.55x)
- Film a circle test at the start of each shoot
- Squash height to about 64.5% or stretch width to 155%
- Verify the circle is round
- Copy settings to every anamorphic clip
- Export at native resolution with high bitrate
- Letterbox for horizontal platforms
FAQ
Should I stretch the width or squash the height?
Both give correct proportions. Squashing height keeps the file within standard export sizes, which is simpler on phones.
Can I desqueeze without black bars?
Yes, use a project with a wide aspect ratio matching your target, such as 2.39:1, if your editor supports it.
What if I use a 1.33x lens instead?
Use the same method with a vertical scale of about 75% (1 ÷ 1.33).
Why are my de-squeezed faces still slightly wide or thin?
Your scale is slightly off, or the lens wasn’t level. Adjust using your circle test clip.
Shoot squeezed, finish in widescreen.
Both 1.55x lenses above de-squeeze with the same numbers, so pick the flare style you love and complete your kit through the Mix & Match – any 3 for $129 deal. Free worldwide shipping on everything in the shop.