Lash Extension Photos That Sell: Phone Macro Setup
Lash extension photos on your phone sell your work when they show three things clearly: the lash map and styling from above, the curl and length in profile, and the finished look with eyes open. Shoot macro detail while the client is still reclined with eyes closed, use soft, even light, keep angles identical for before-and-after shots, and never edit the lashes themselves. Those images do more for bookings than any caption.
What clients look for in lash photos
Potential clients scroll fast, but they look closely at a few things: how full and even the set is, whether the outer corners are neat, whether the lashes look fluffy (volume) or crisp (classic), and whether the natural lashes look healthy. Fellow artists look for isolation, attachment and direction. Macro detail answers all of these questions in a single swipe.
Gear setup
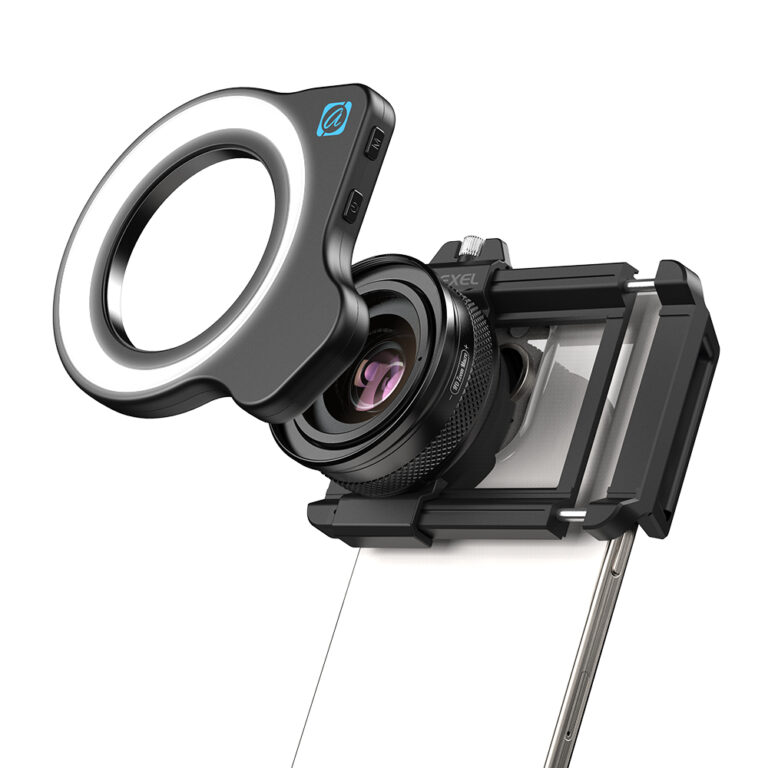
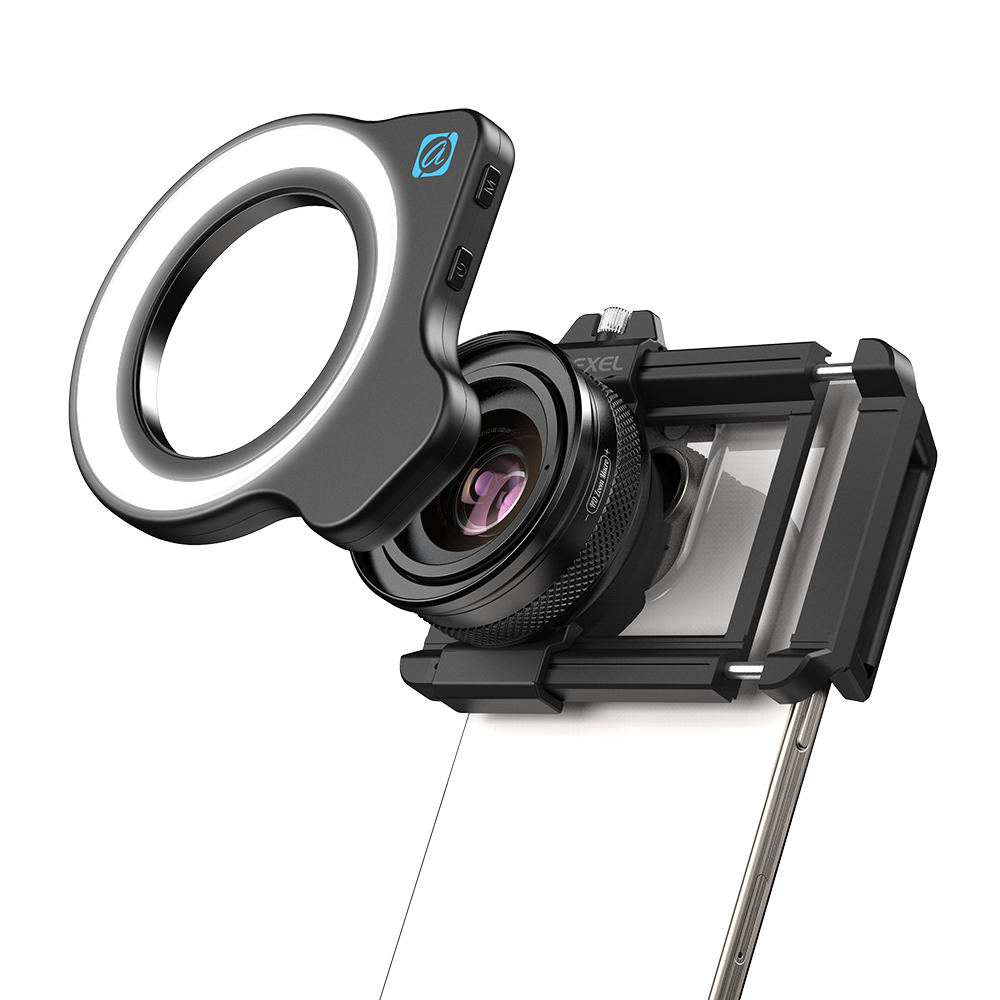
- Macro with built-in light: the Apexel 10x/20x macro lens with built-in LED gives a ring of even light right at macro distance, which helps in treatment rooms where the main lamp sits awkwardly. Use the lower setting and keep it off when eyes are open.
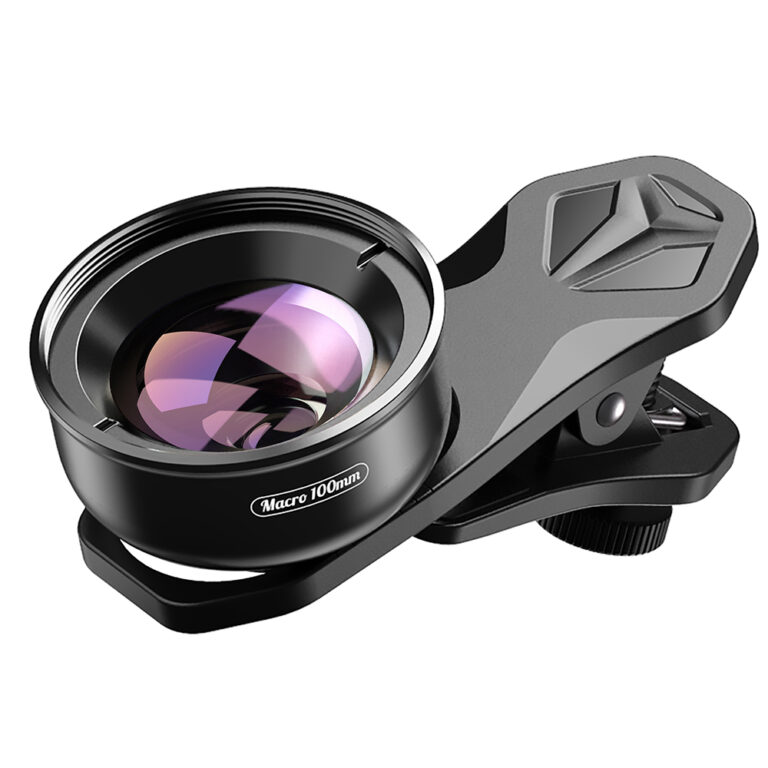
- Case-mounted macro: if you shoot on an iPhone every day, the 10x/20x macro lens with phone cover for iPhone keeps the lens aligned without re-clipping between clients. Fast and consistent, which matters when you’re shooting several sets a day.
- Light: your lash lamp or a soft daylight LED panel. Avoid harsh single-point lights that create hard shadows across the lid.
- Background: a clean pillow cover or headrest in a neutral color.
The four shots every lash post needs
1. Top-down styling shot (eyes closed)
With the client still lying down after the set, shoot from above the forehead looking down at the closed eye. This shows the lash map: length progression from inner to outer corner, density and symmetry. Remove under-eye pads and tape first so they don’t distract.
2. Macro detail (eyes closed)
Move in with the macro to show fans, isolation and the clean lash line. Focus on the base of the lashes near the lid. This is your “proof of skill” shot for other artists and detail-focused clients.
3. Profile (eyes closed or open)
From the side, show the curl and lift. Ask the client to lift their chin slightly. Profile shots reveal whether the curl matches the eye shape.
4. Finished look (eyes open)
Seat the client upright, facing soft light, and photograph without macro so the whole eye area is in frame. Ask them to look slightly upward or straight ahead. Turn off the LED and avoid pointing bright lights into open eyes.
Step-by-step: shooting the macro detail
- Brush the lashes into place with a clean spoolie.
- Clean your phone camera and the macro lens; a smudge reads as haze over delicate lashes.
- Lock the phone to the main camera at 1x.
- Hold the phone parallel to the lash line, starting a few centimeters away.
- Move slowly closer until the lash bases are sharp. Lock focus and exposure.
- Brace your hands against the bed or your own body for stability.
- Shoot a burst and move along the lash line: inner, center, outer.
Never let the lens touch the client’s skin or lashes. Working distance and patience do the job.
Before-and-after rules
- Same angle, same distance, same light. Mark a spot or use a phone holder.
- Natural lashes clean and brushed in the “before.”
- No mascara or makeup differences between the two shots.
- Present them side by side or as a carousel swipe.
- Don’t crop the “after” tighter than the “before” to exaggerate change.
Light and color
Soft, cool-to-neutral daylight shows black lashes crisply against skin. Warm lamps can make skin look orange. Lock white balance in a pro mode for consistent results across clients, and turn off beauty filters. Smoothing filters can blur lash definition, which defeats the purpose.
Showing different lash styles
- Classic sets: macro detail along the lash line proves clean one-to-one isolation. Shoot slightly from below the lash line in profile to show crisp separation.
- Volume and mega volume: top-down shots show the density and fluffy texture; macro shows neat, symmetrical fans.
- Hybrid and wispy styles: profile and eyes-open shots best show the spiky, textured pattern.
- Lash lifts: profile before-and-after is the clearest way to show the lift.
Editing honestly
You can crop, straighten, adjust white balance and remove a stray glue speck from the skin if you like. Don’t add, extend or darken lashes digitally. Clients notice when their real result doesn’t match your feed, and trust disappears. Many lash communities and trainers also discourage edited lash work in portfolios.
Posting tips
- Lead with the finished eyes-open look; it’s what clients imagine for themselves.
- Follow with macro detail and the top-down map.
- Name the style (classic, hybrid, volume) and the mapping in your caption.
- Short Reels: a slow pan along the lash line, then cut to the client opening their eyes.
- Ask permission before posting faces; offer an eyes-only crop for clients who prefer privacy.
For broader tips on getting crisp macro shots, see our guide to the best macro lens for smartphone creators.
Quick checklist
- Pads and tape removed, lashes brushed
- Lenses cleaned, phone locked to 1x
- Top-down, macro, profile and eyes-open shots captured
- LED off for eyes-open photos
- White balance locked, beauty filters off
- Before-and-after with identical setup
- No digital lash editing
- Client consent for posting
FAQ
Should I shoot lashes with eyes open or closed?
Both. Closed eyes show the mapping and detail; open eyes show the finished look clients want.
Is the LED safe near the eyes?
Keep it on a low setting and only use it with eyes closed. For eyes-open shots, use soft room light or window light.
Why do my lash photos look blurry?
Probably focus or shake. Lock focus at the lash base, brace your hands, and shoot bursts.
What angle is best for showing curl?
Profile, with the client’s chin slightly lifted.
Let your lash mapping speak for itself.
Choose the LED macro for treatment-room lighting or the case-mounted iPhone macro for speed between clients, and build your kit with the Mix & Match – any 3 for $129 offer. Free worldwide shipping from our shop.